The Jackson Pad: DIY Vibration Damping for Drumsets
2022/05/25
a few years ago i moved out of student apartments and into the second story of a commuter-centric apartment. i wanted to stay on my neighbors' good side, so i ditched my acoustic set and bought an electronic one. shortly after, i received my first ever noise complaint!
although electronic sets are audibly quieter, they still transmit a lot of energy into the floor. when struck, vibrations carry from the drum into the harness and from there into the floor. moreover, the kick and high-hat pedal action mirrors that of a person stomping, so of course that's going to annoy the downstairs neighbor.
How to decrease vibrations
the most straightforward way to decrease floor vibrations is to decrease the energy associated with each hit. for example, use beaterless pedals. if there's no beater imparting energy into the kick plate then that's less energy transmitted into the floor. similarly, slamming the high-hat close imparts momentum from the upper cymbal into the stand and from there to the floor. beaterless pedals solve both these issues.
but even with beaterless pedals (if you're willing to go that route), you still have the issue of snare/tom hits vibrating through the harness. if you want to stop all these, you'll need an isolation platfrom like this:
or you can place the set atop a riser:
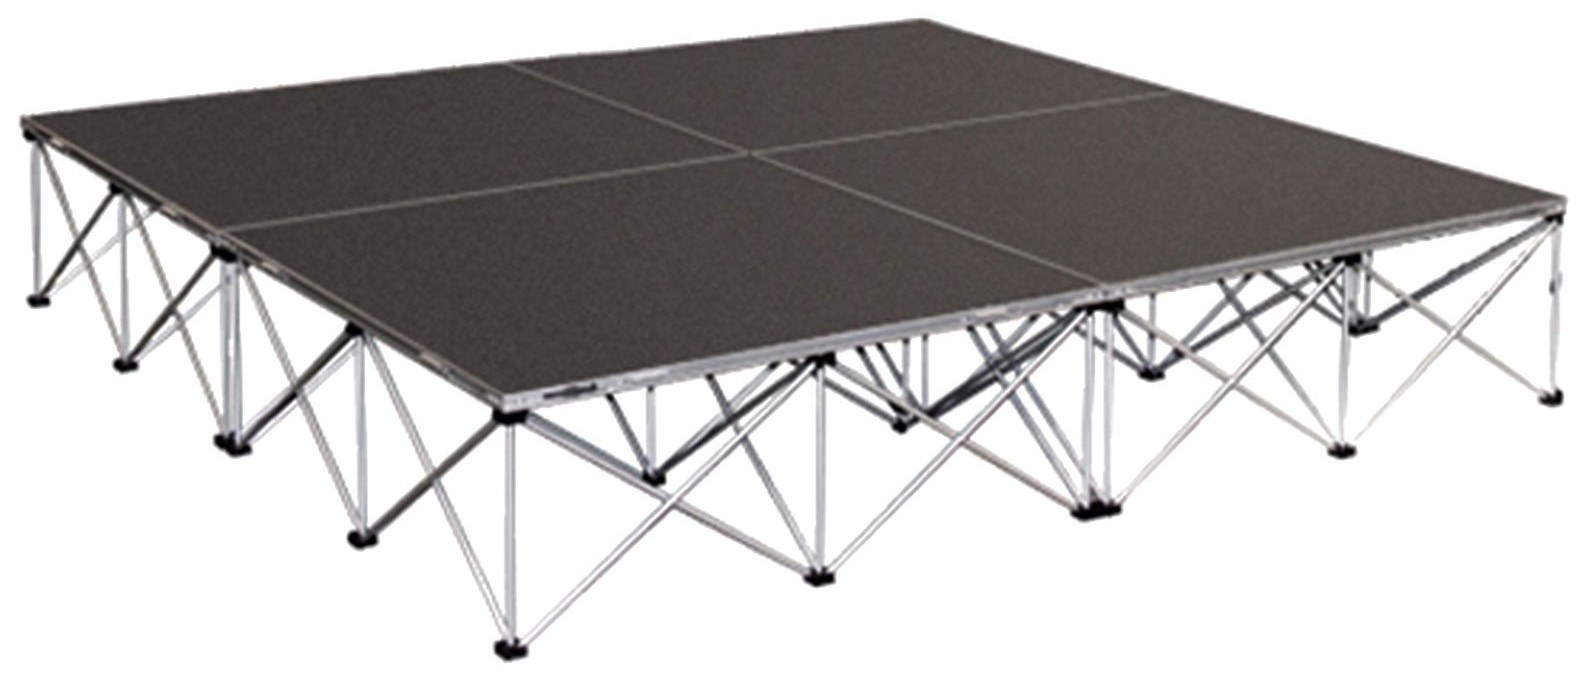
i was very tempted by that Thomann podium, but it's priced a bit too aggressively for me.
cheaper options include placing the set on a large rubber or foam pad, similar to what you might put under a washing machine or an exercise bike ("anti vibration mats").
but after browsing drum forums i couldn't find many success stories from these approaches. maybe that's just a bias from the people who frequent these forums and anti-vibration mats work equally well, but i was intrigued by the other approaches i saw there.
DIY solutions
the most infamous DIY approach within these drum communities is the tennis ball riser: sandwich tennis balls between two large panels (or a panel and the floor), put the drumset on top, and you're done. it's a simple suspension system and actually resembles that commercial Thomann podium quite a bit.
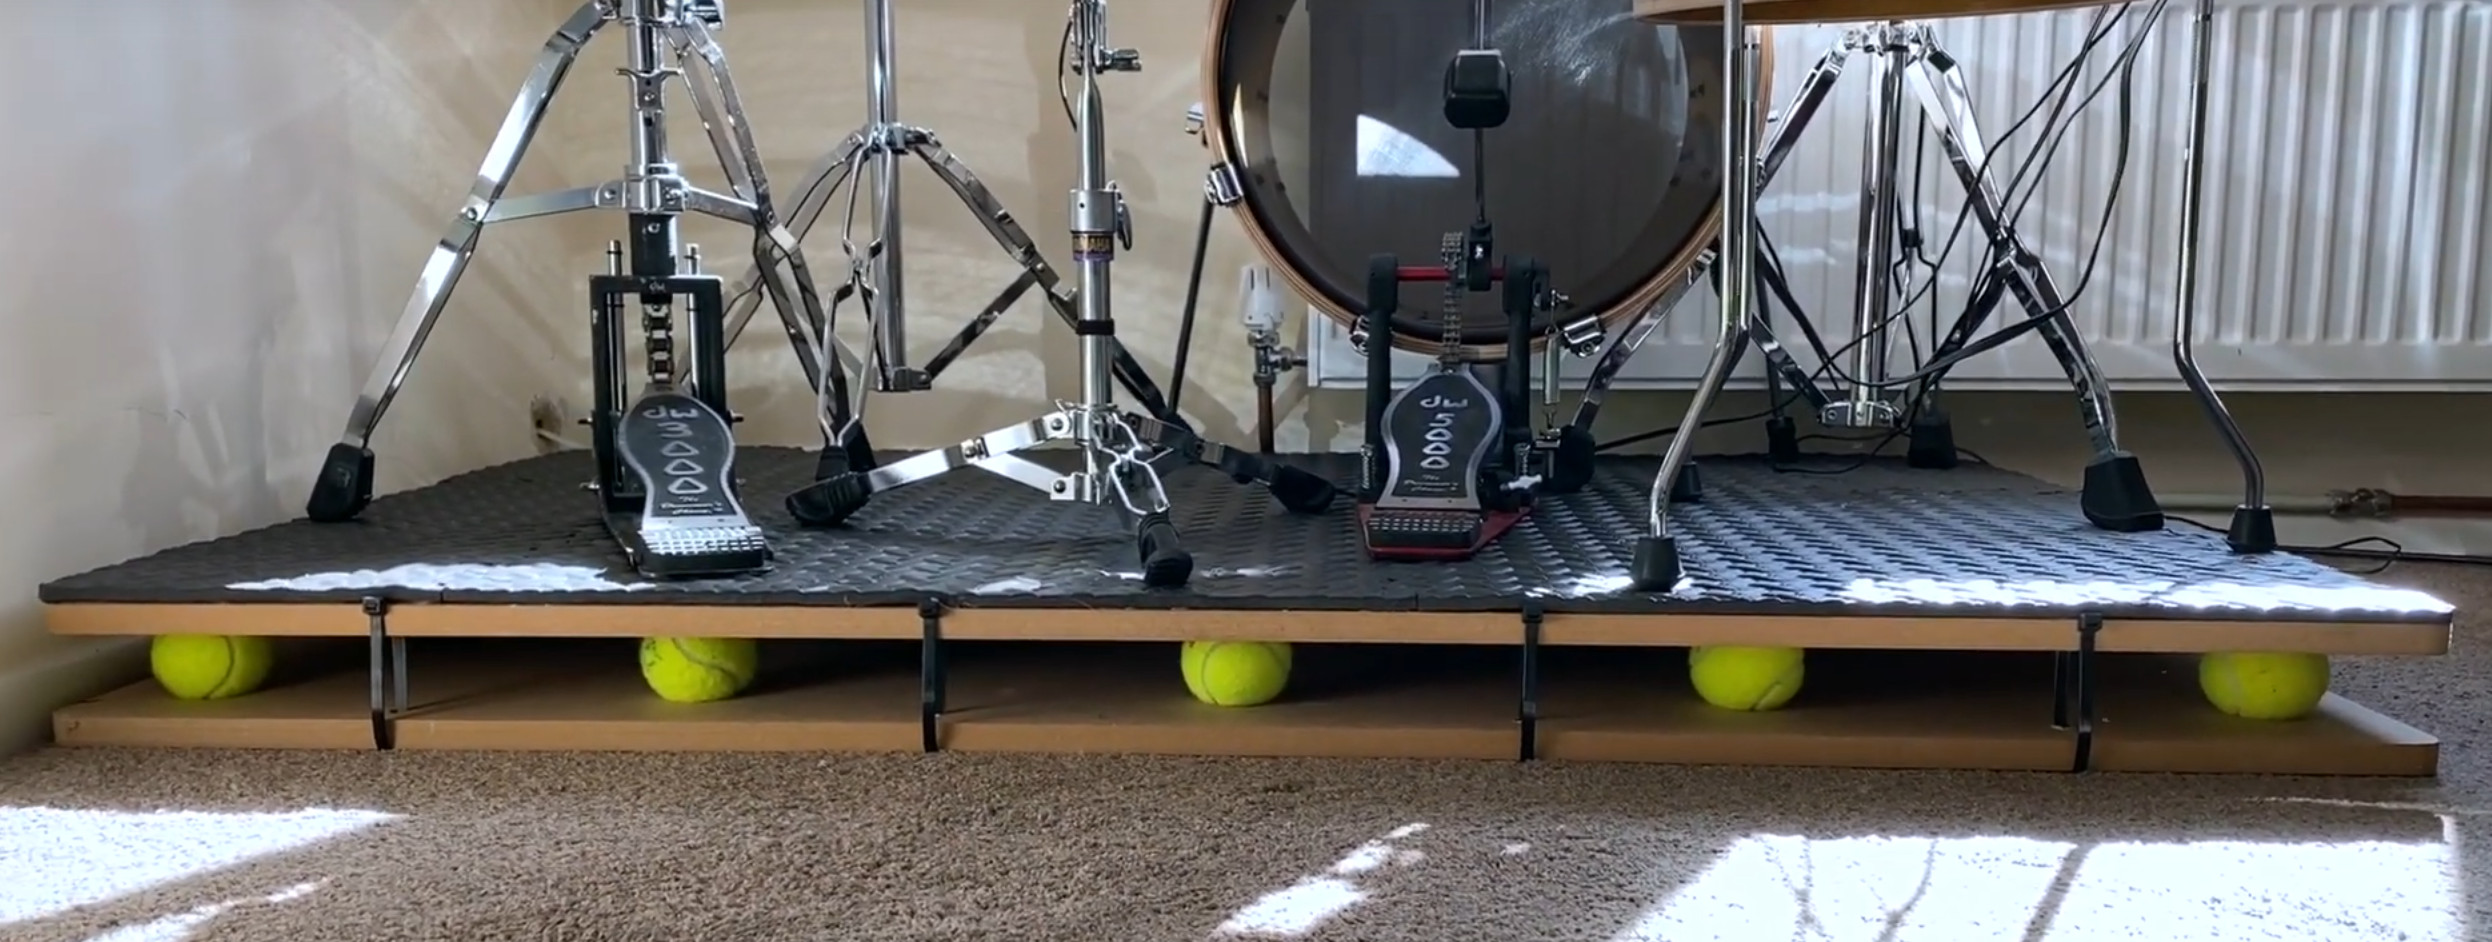
a more thoroughly engineered solution i came across was The Jackson Pad. the creator (Brian Jackson) provides detailed build instructions, some convincing noise measurements, a believable theory of operation, and i couldn't find anyone who tried this without success.
The Jackson Pad
initially proposed on vdrums.com, i've mirrored the original design document and build instructions.
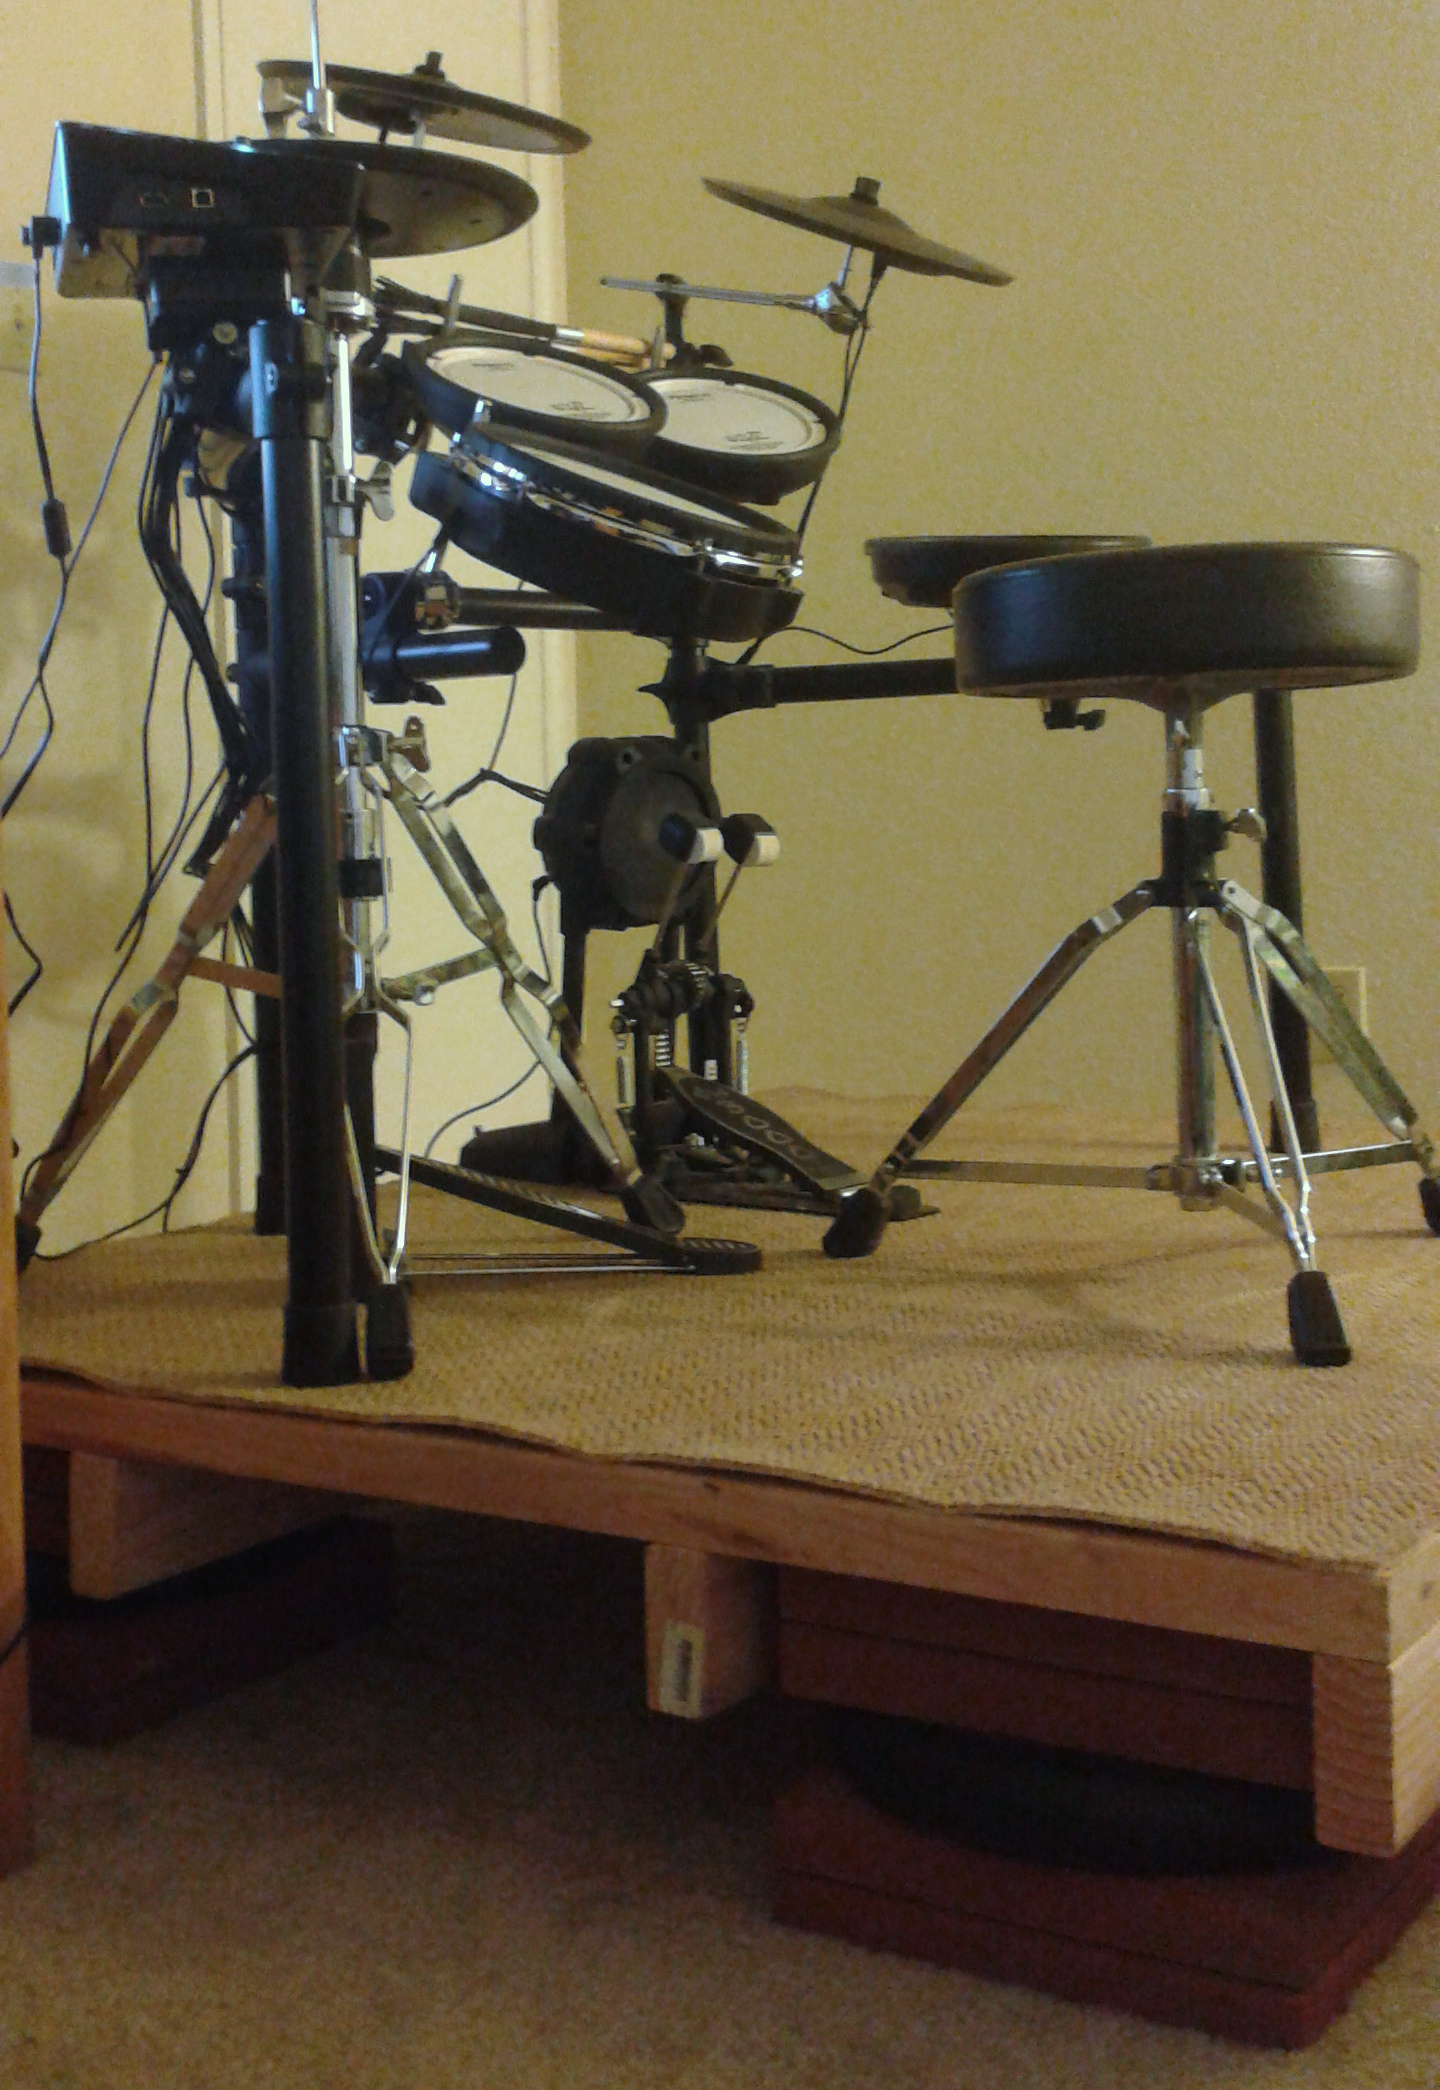
the first idea is that the drumset should sit atop a platform that has a lot of mass. because of the high mass, the momentum you impart onto it when stomping your feet causes less physical displacement than a platform with low mass.
the second idea is to set this platform atop four air-filled inner tubes. the displacement of the platform will compress the air within the tubes, redirecting some of the motion outward instead of downward and supposedly transforming mechanical energy into heat energy (compressing a gas causes it to heat): the heat will be transformed back into mechnical energy as the pressures balance, but the effect is that sharp impulses of mechanical energy are imparted into the floor over a longer period of time. it's like applying a low-pass filter to the original foot stomp or drum hit.
i'm a little skeptical of the heat argument, but overall i'm satisfied enough with the theory of operation to give it a try.
Construction
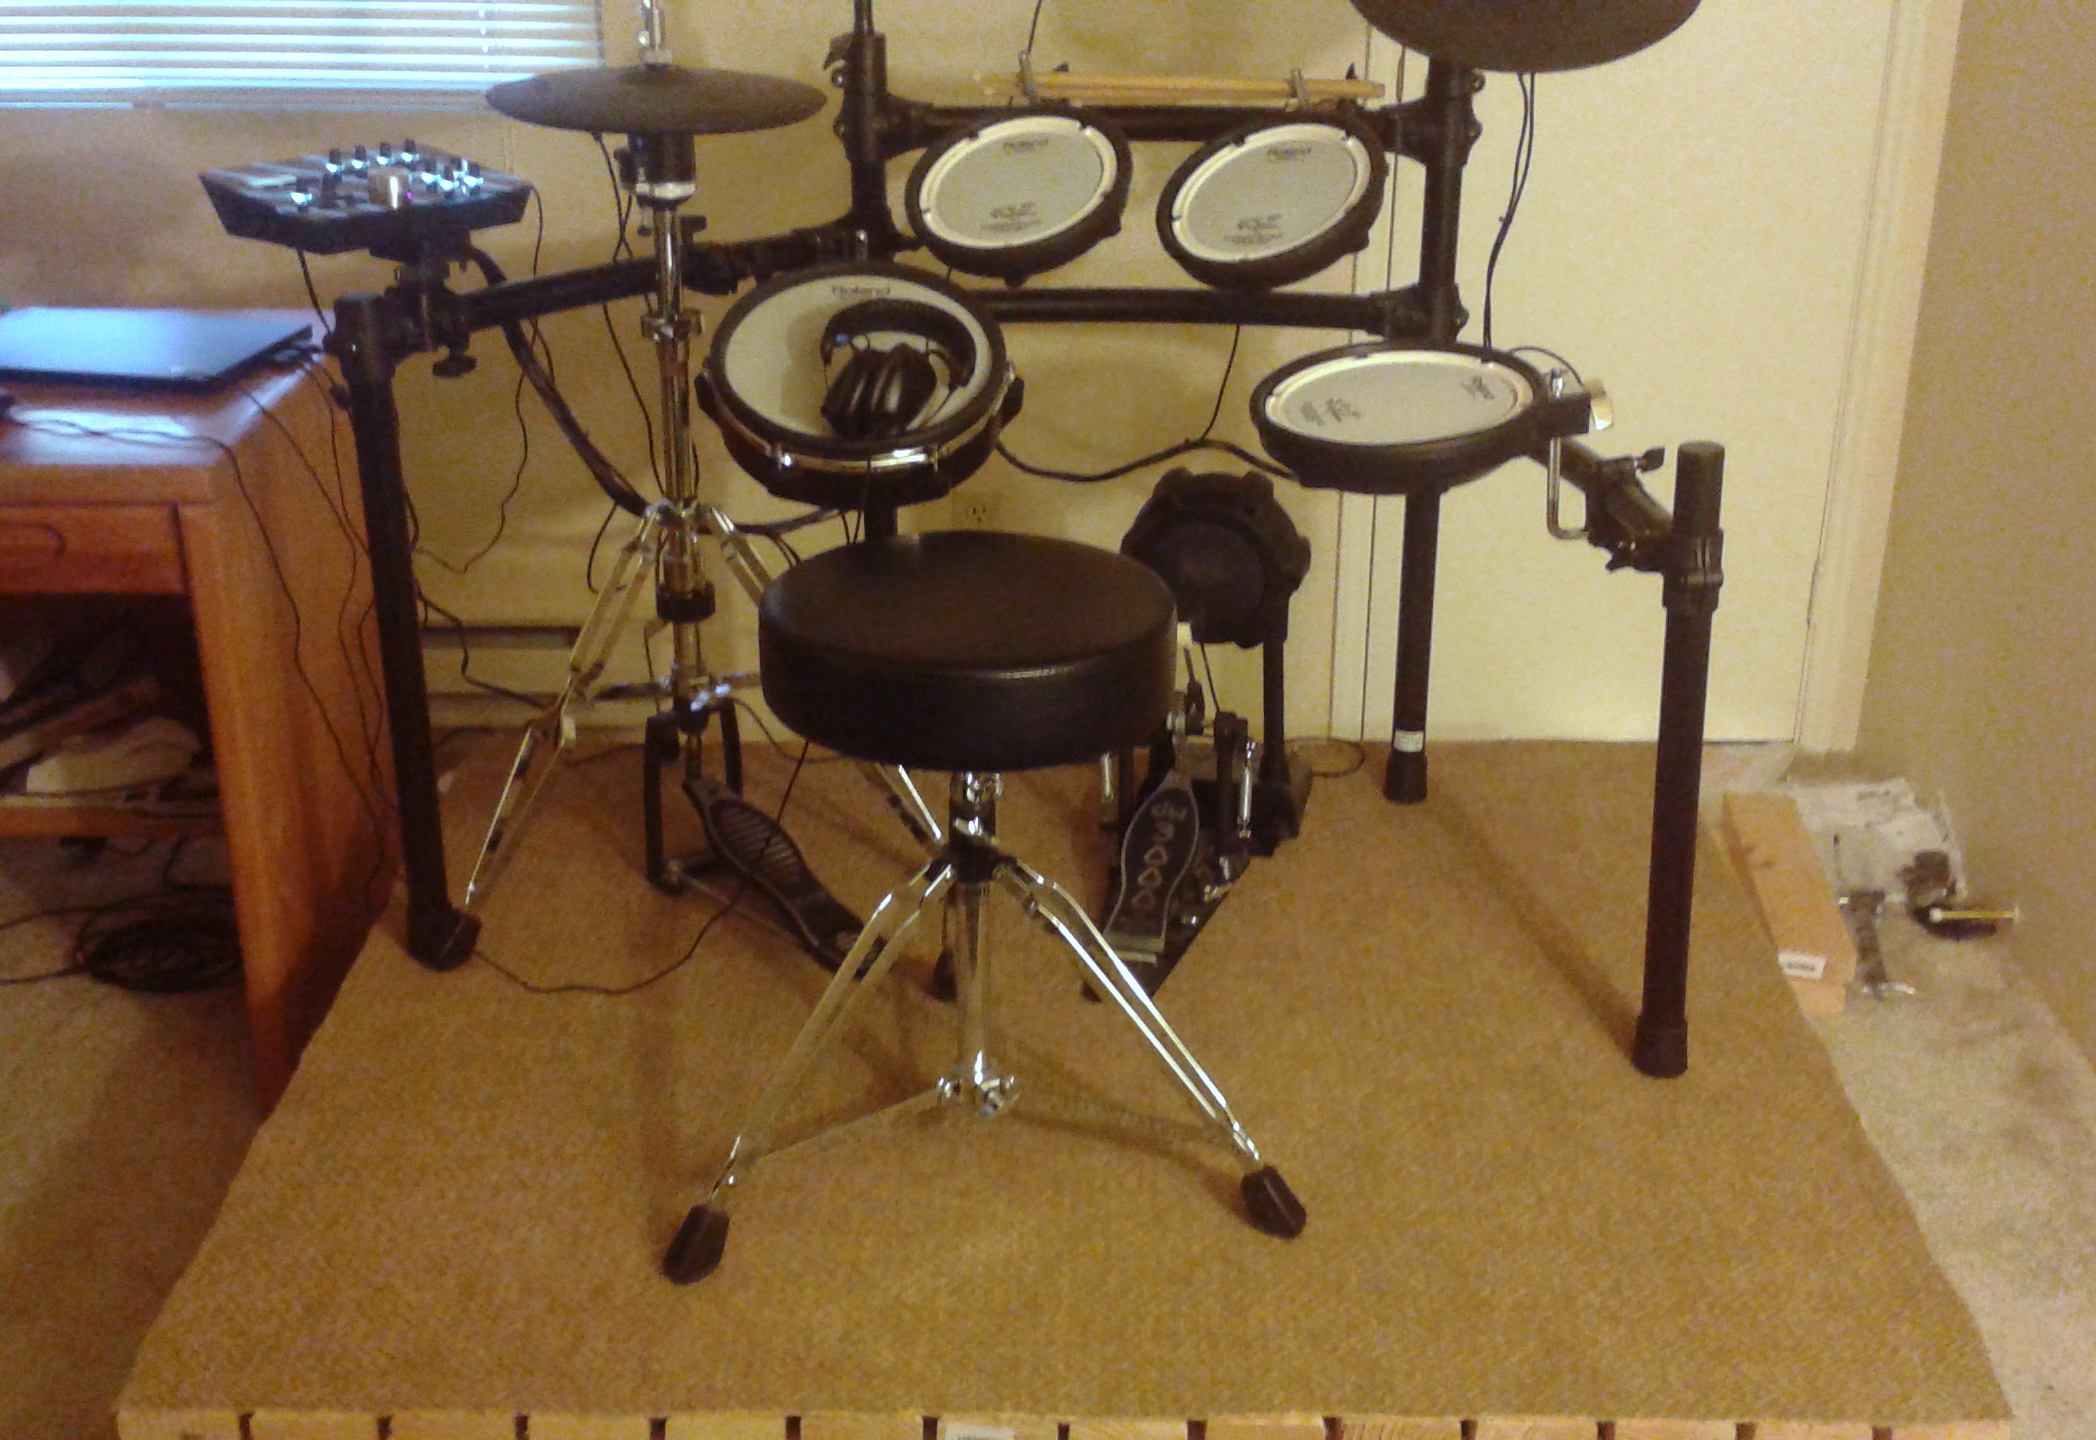
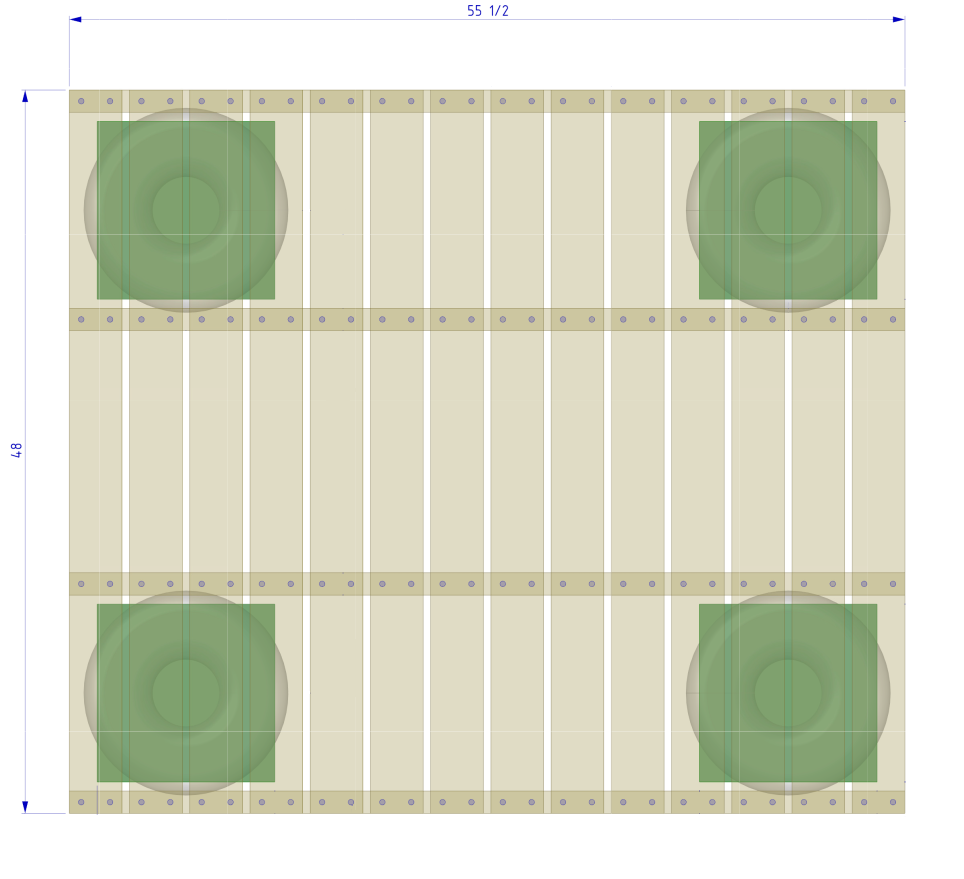
the pad materials are super practical to source. it's all off-the-shelf lumber that you can buy at a hardware store with a minimal number of cuts. the stock 4'x4.7' design is just large enough for a typical 4-drum + highhat + kick + ride + crash configuration and a stool with modest footprint.
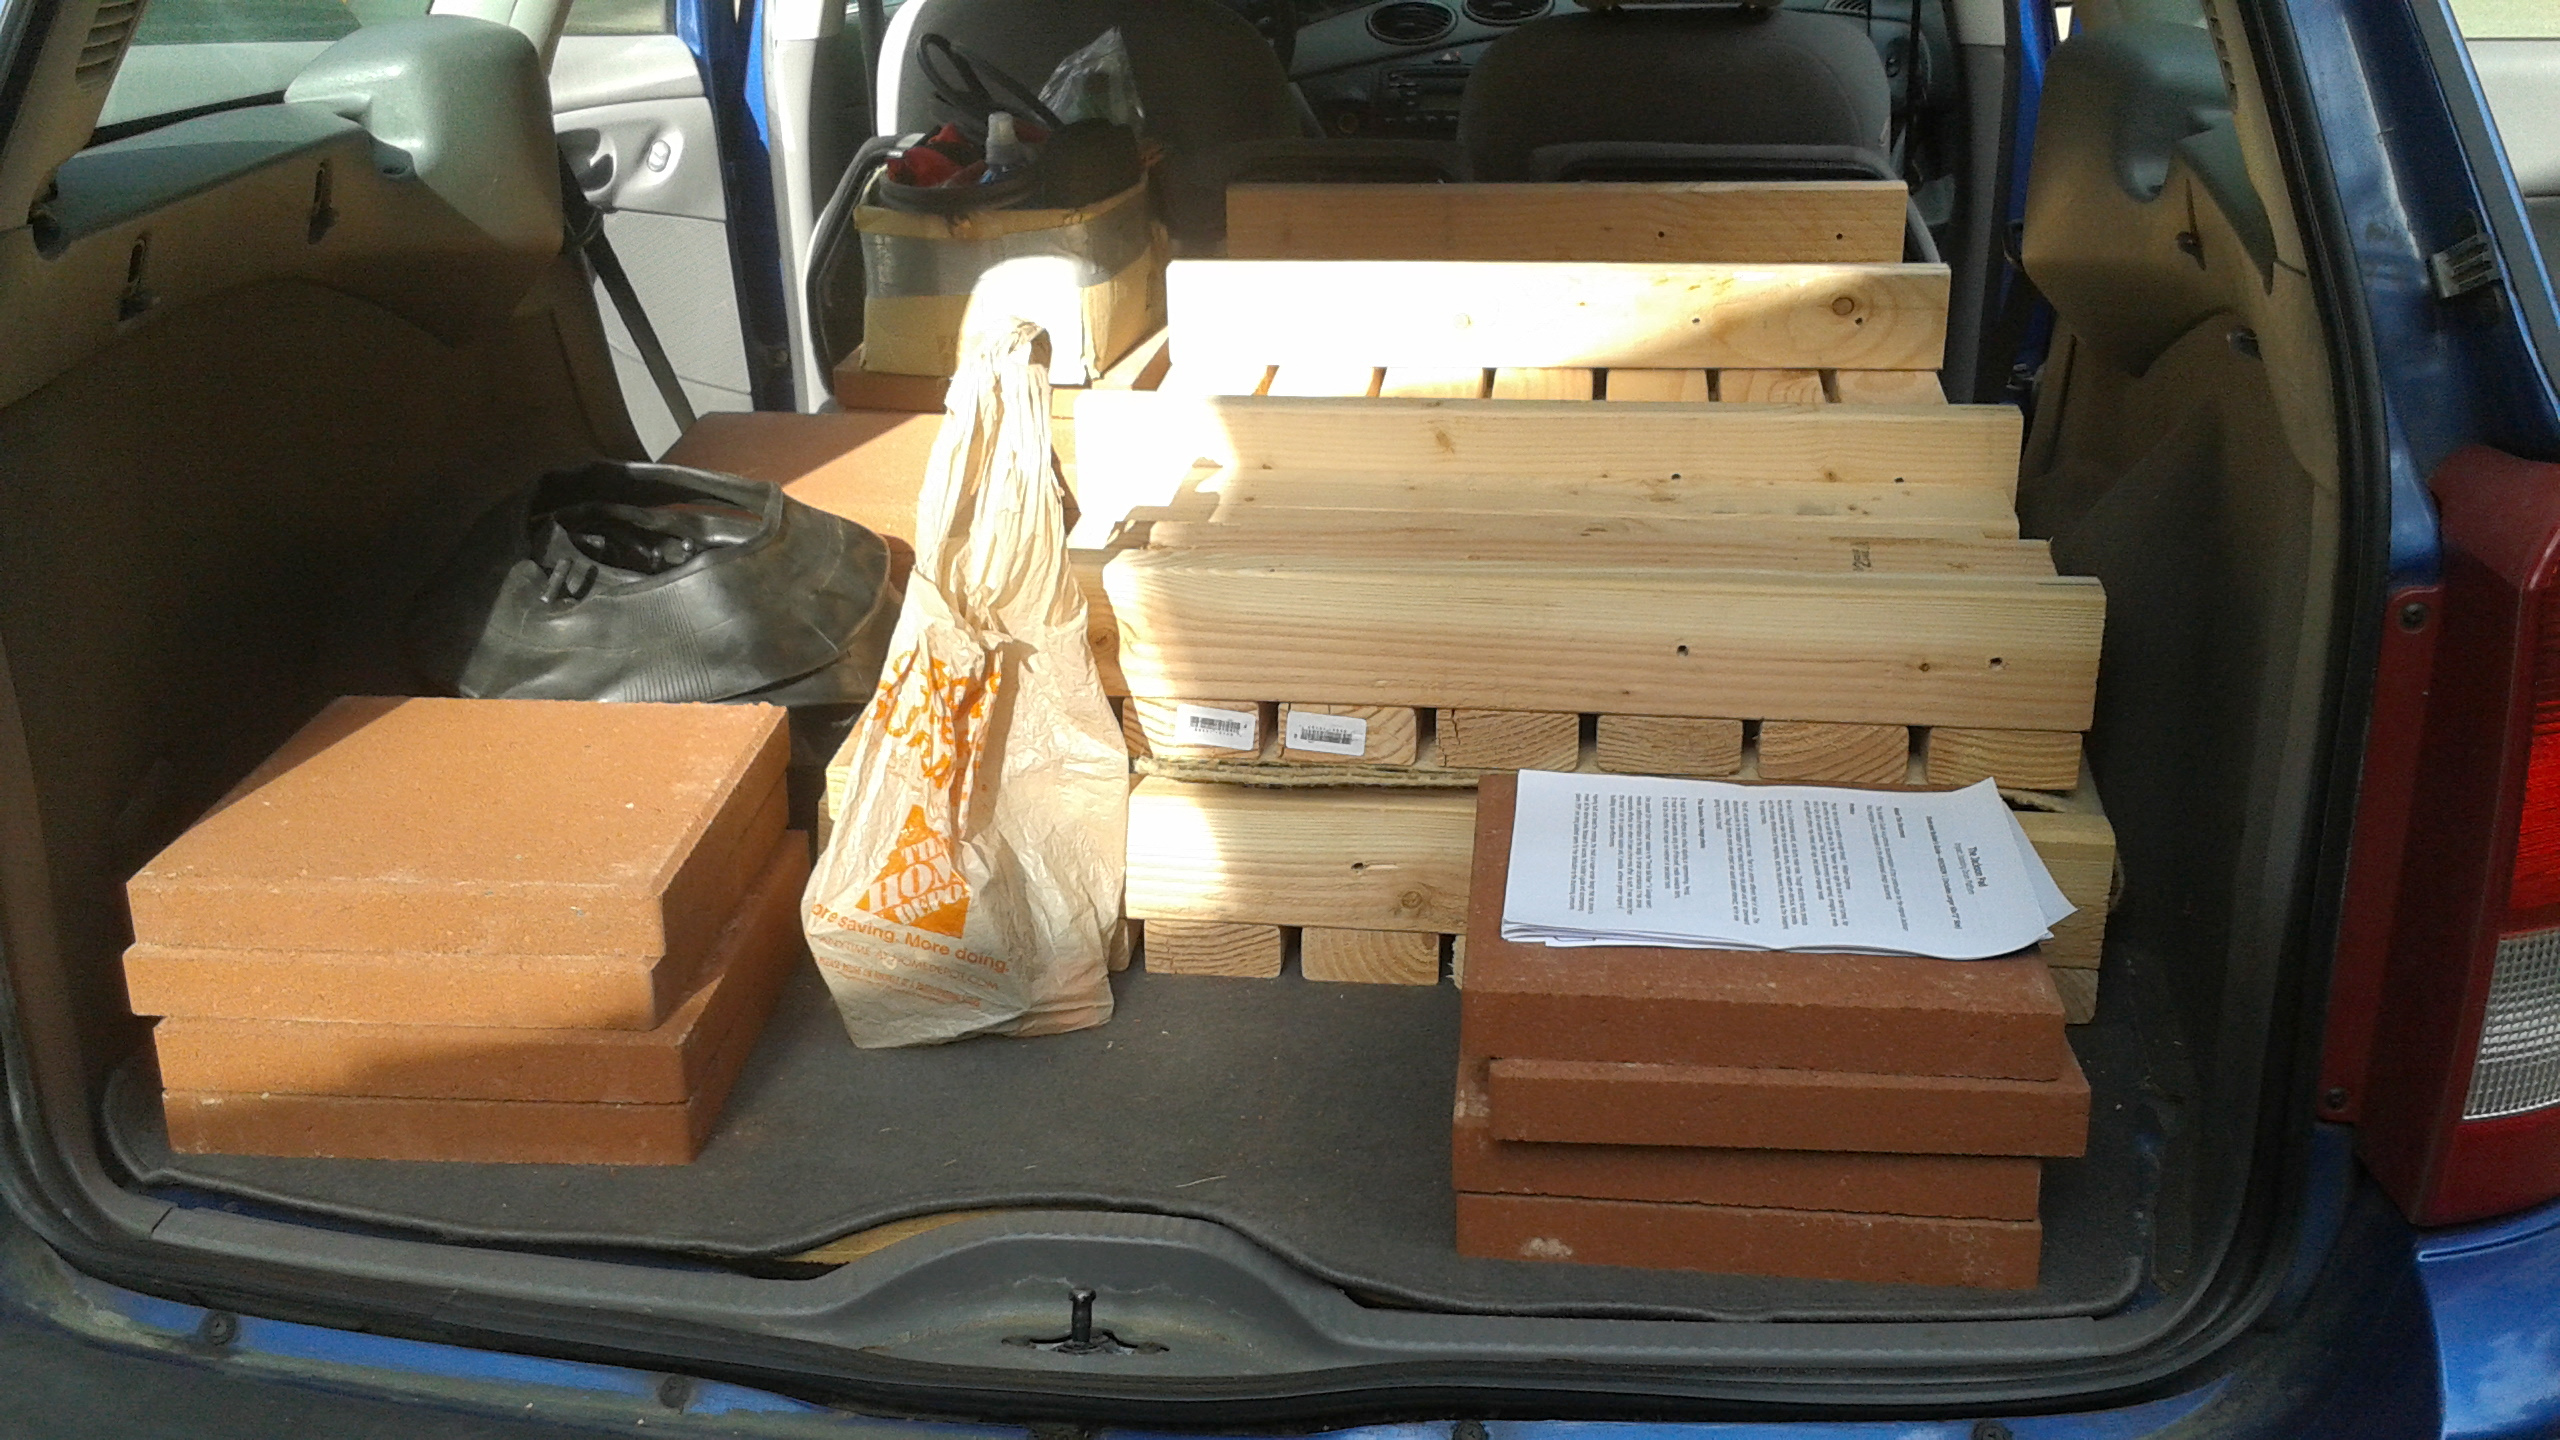
unfortunately, it's just large enough to not be practical to transport. i move homes every year or two, so i wanted to find a way to make it fit in my stationwagon.
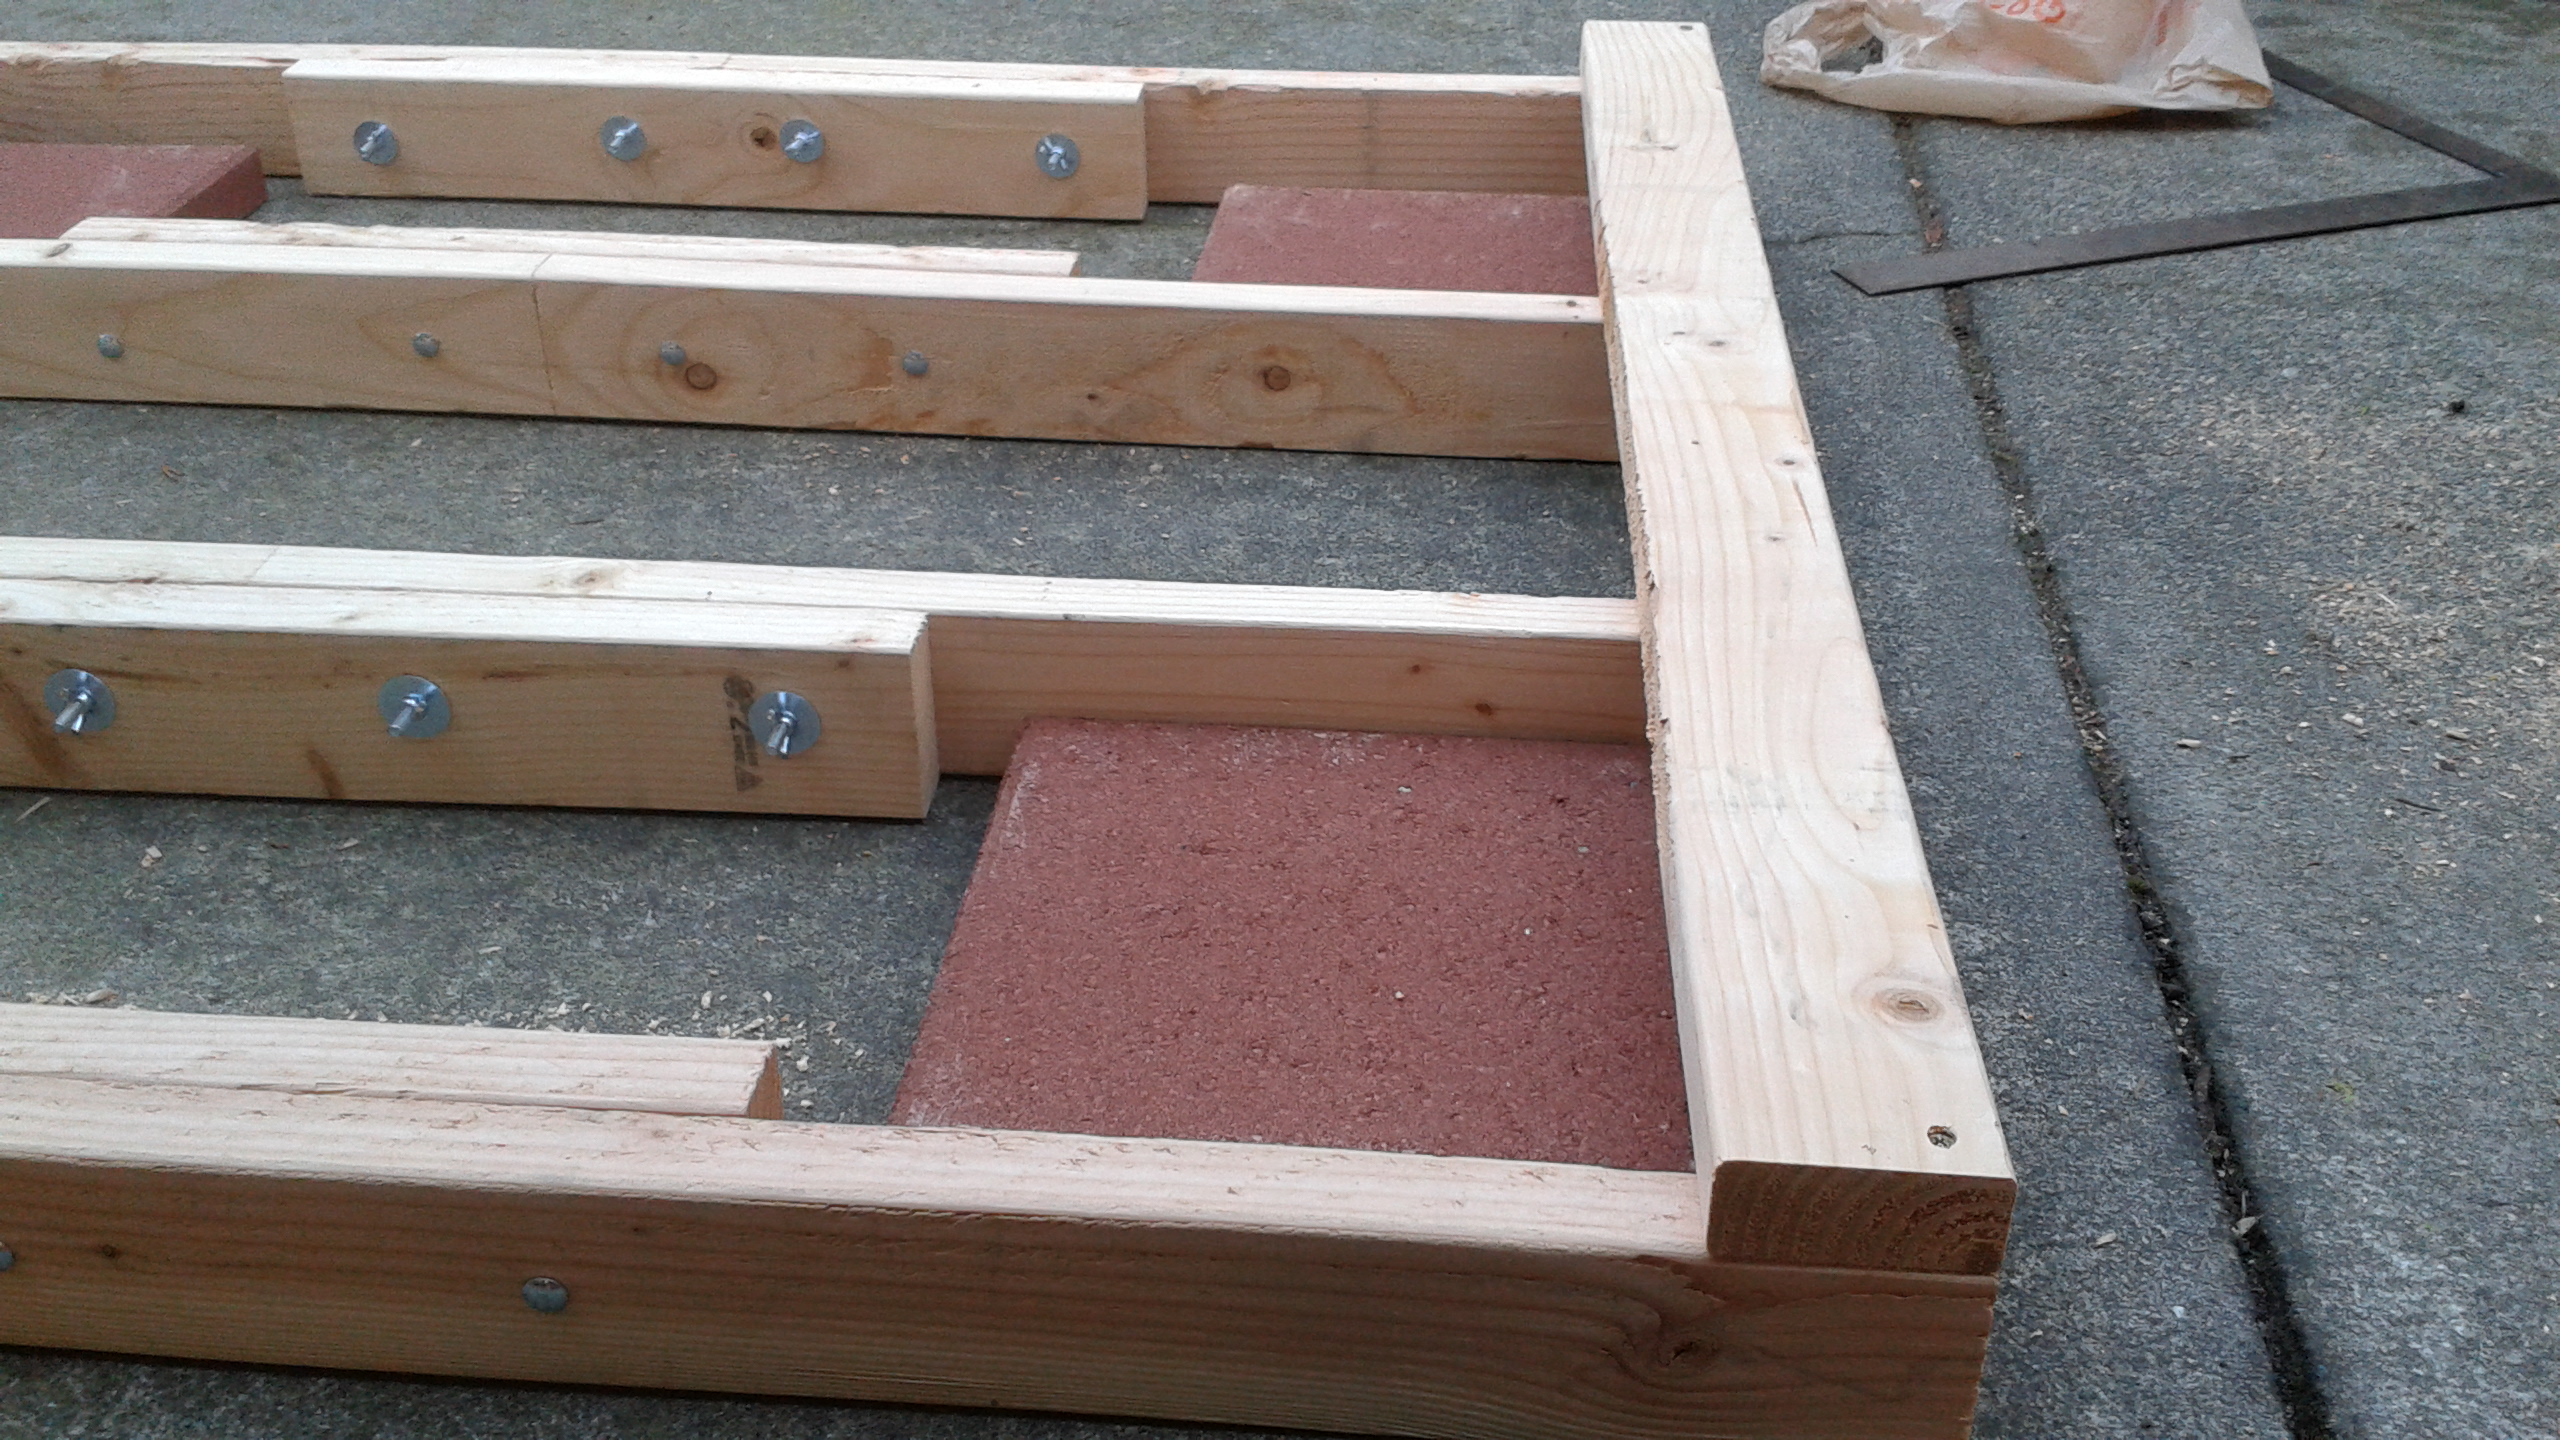
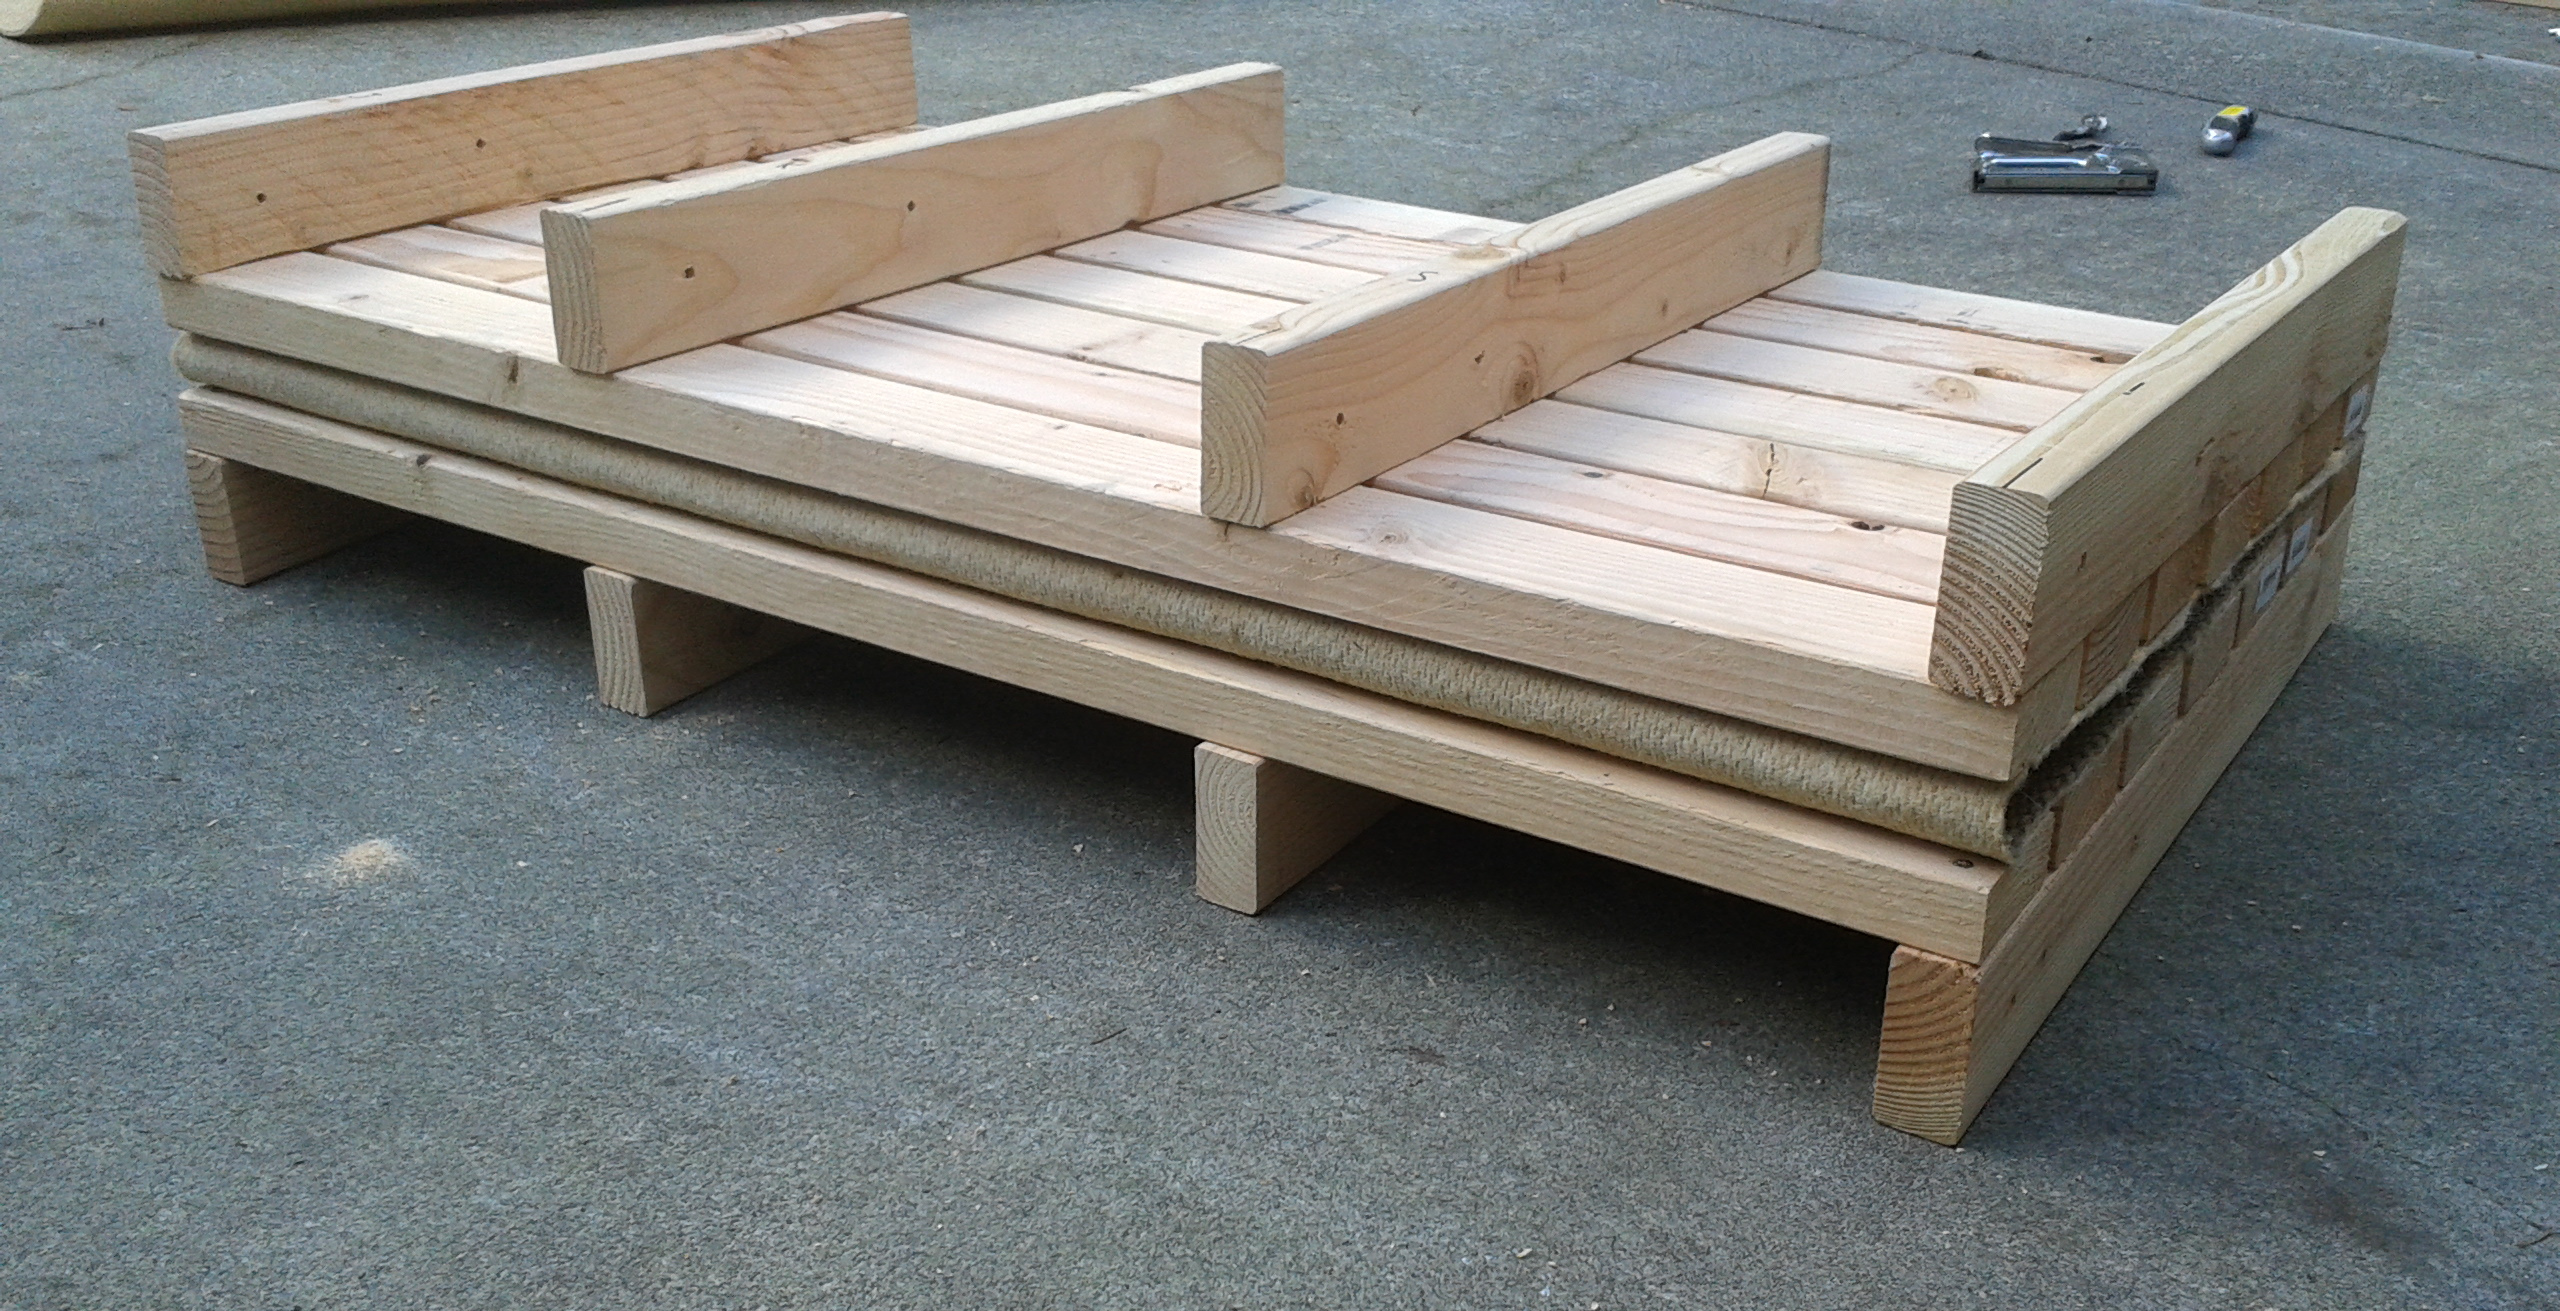
the stock plan makes use of four 55.5" trusses which support fourteen 2x4s running perpindicular to them:
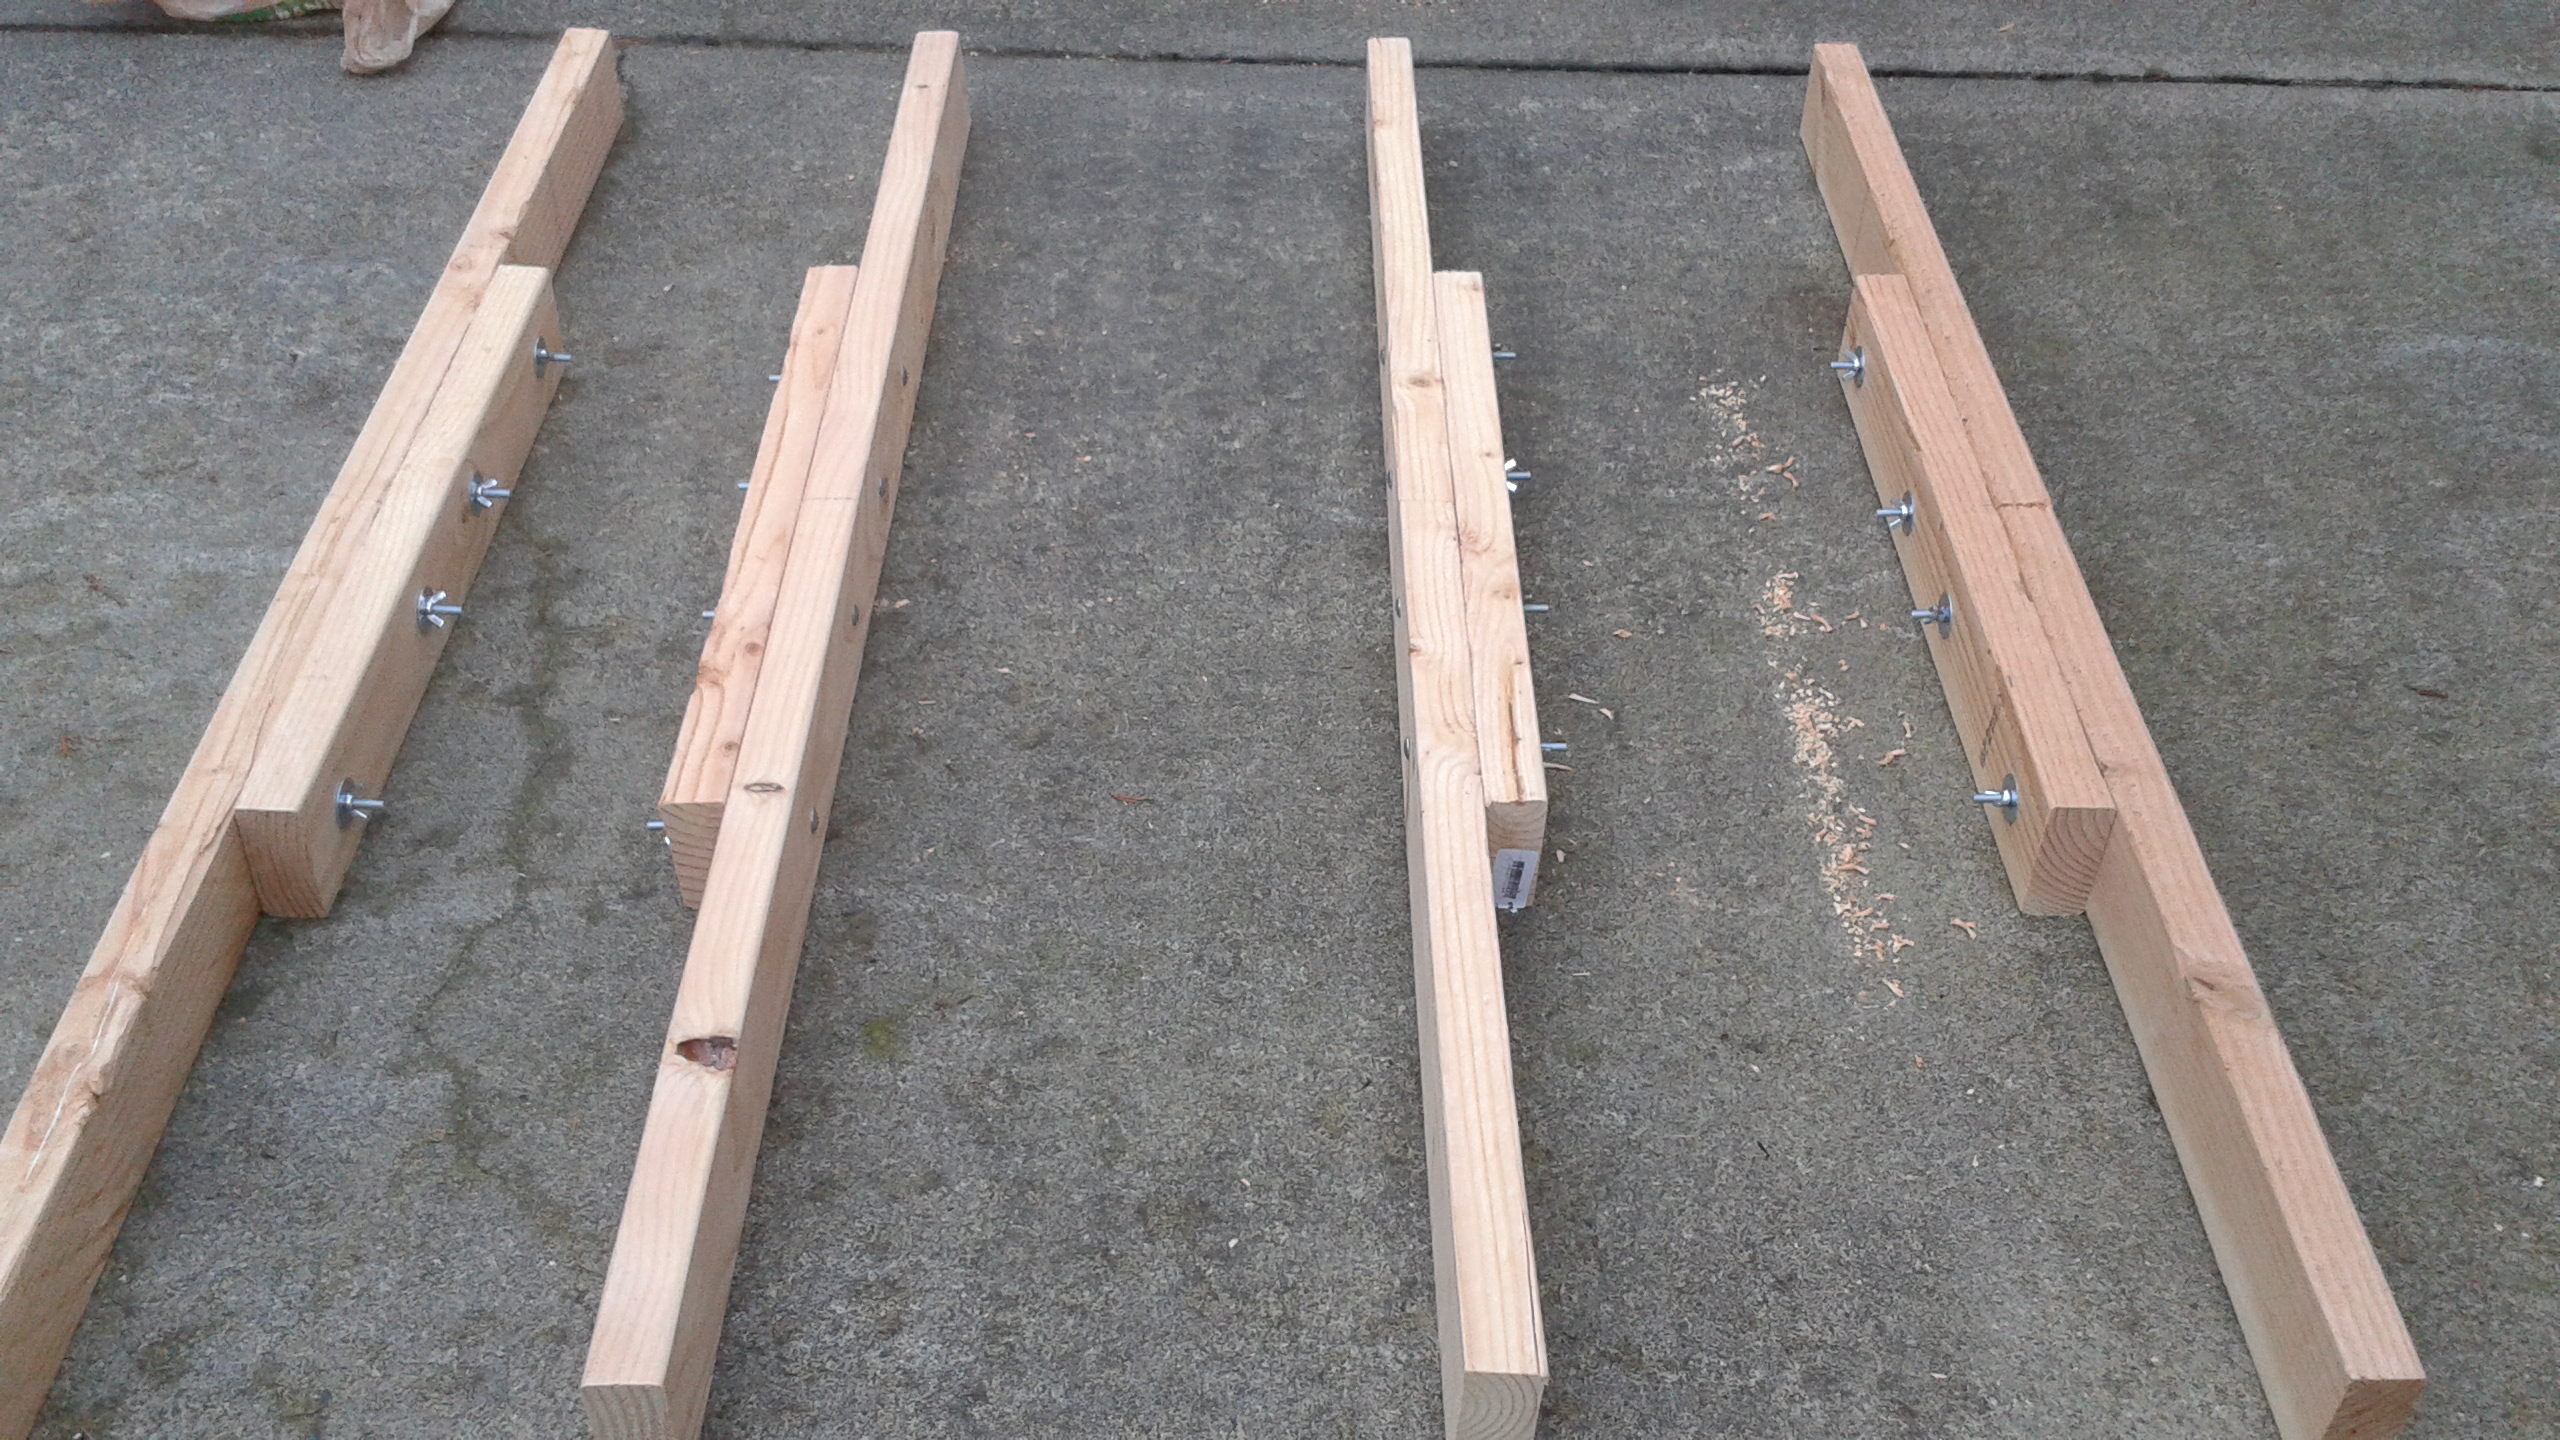
i decided to make a vertical cut down the center of this entire design such that i would have two separate 48"x27.25" pads. each of the four trusses would be cut in half, and a brace would be added to each one which would secure the halves when bolted. with the bolts in place, you're left with a solid 48"x55.5" pad; with the bolts removed, you have two smaller pads that can be easily transported.
the original design leaves four 40" boards of scrap from cutting the trusses. you can trim these down to 2' and use those as the braces. the only addition to Jackson's BOM is sixteen 4" bolts, washers, and wingnuts.
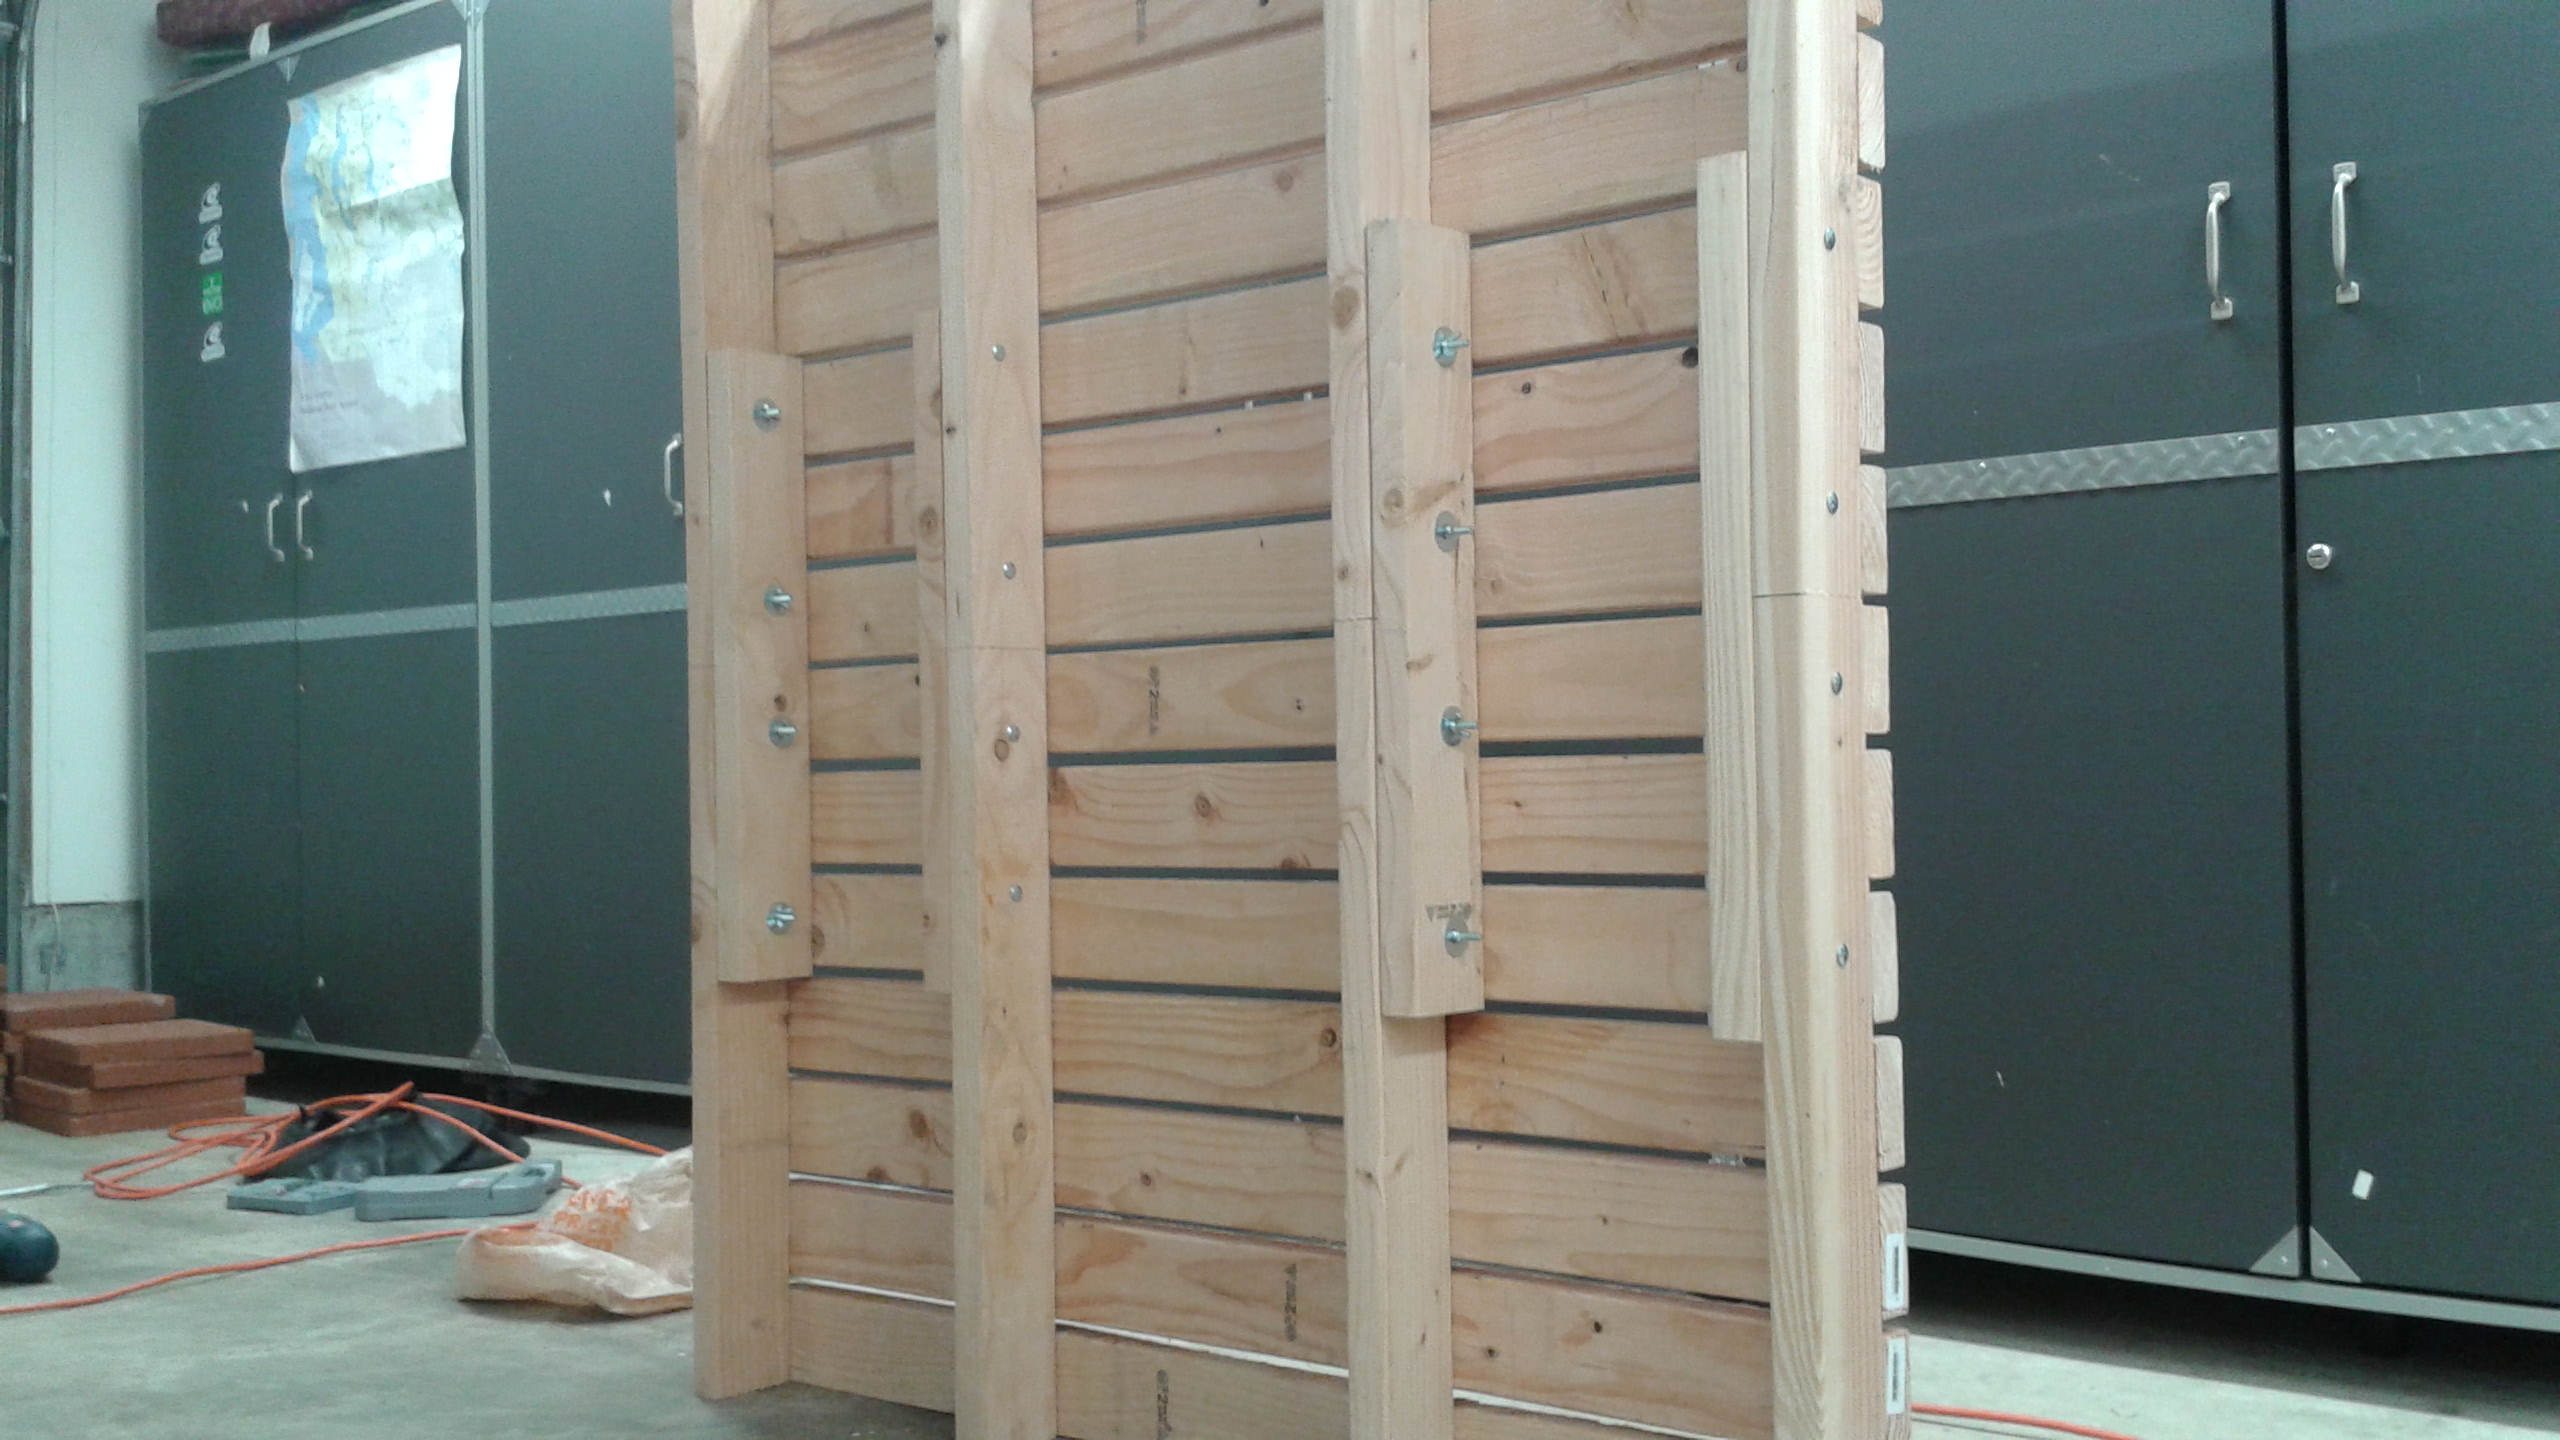
here's what the truss + brace system looks like when bolted together:
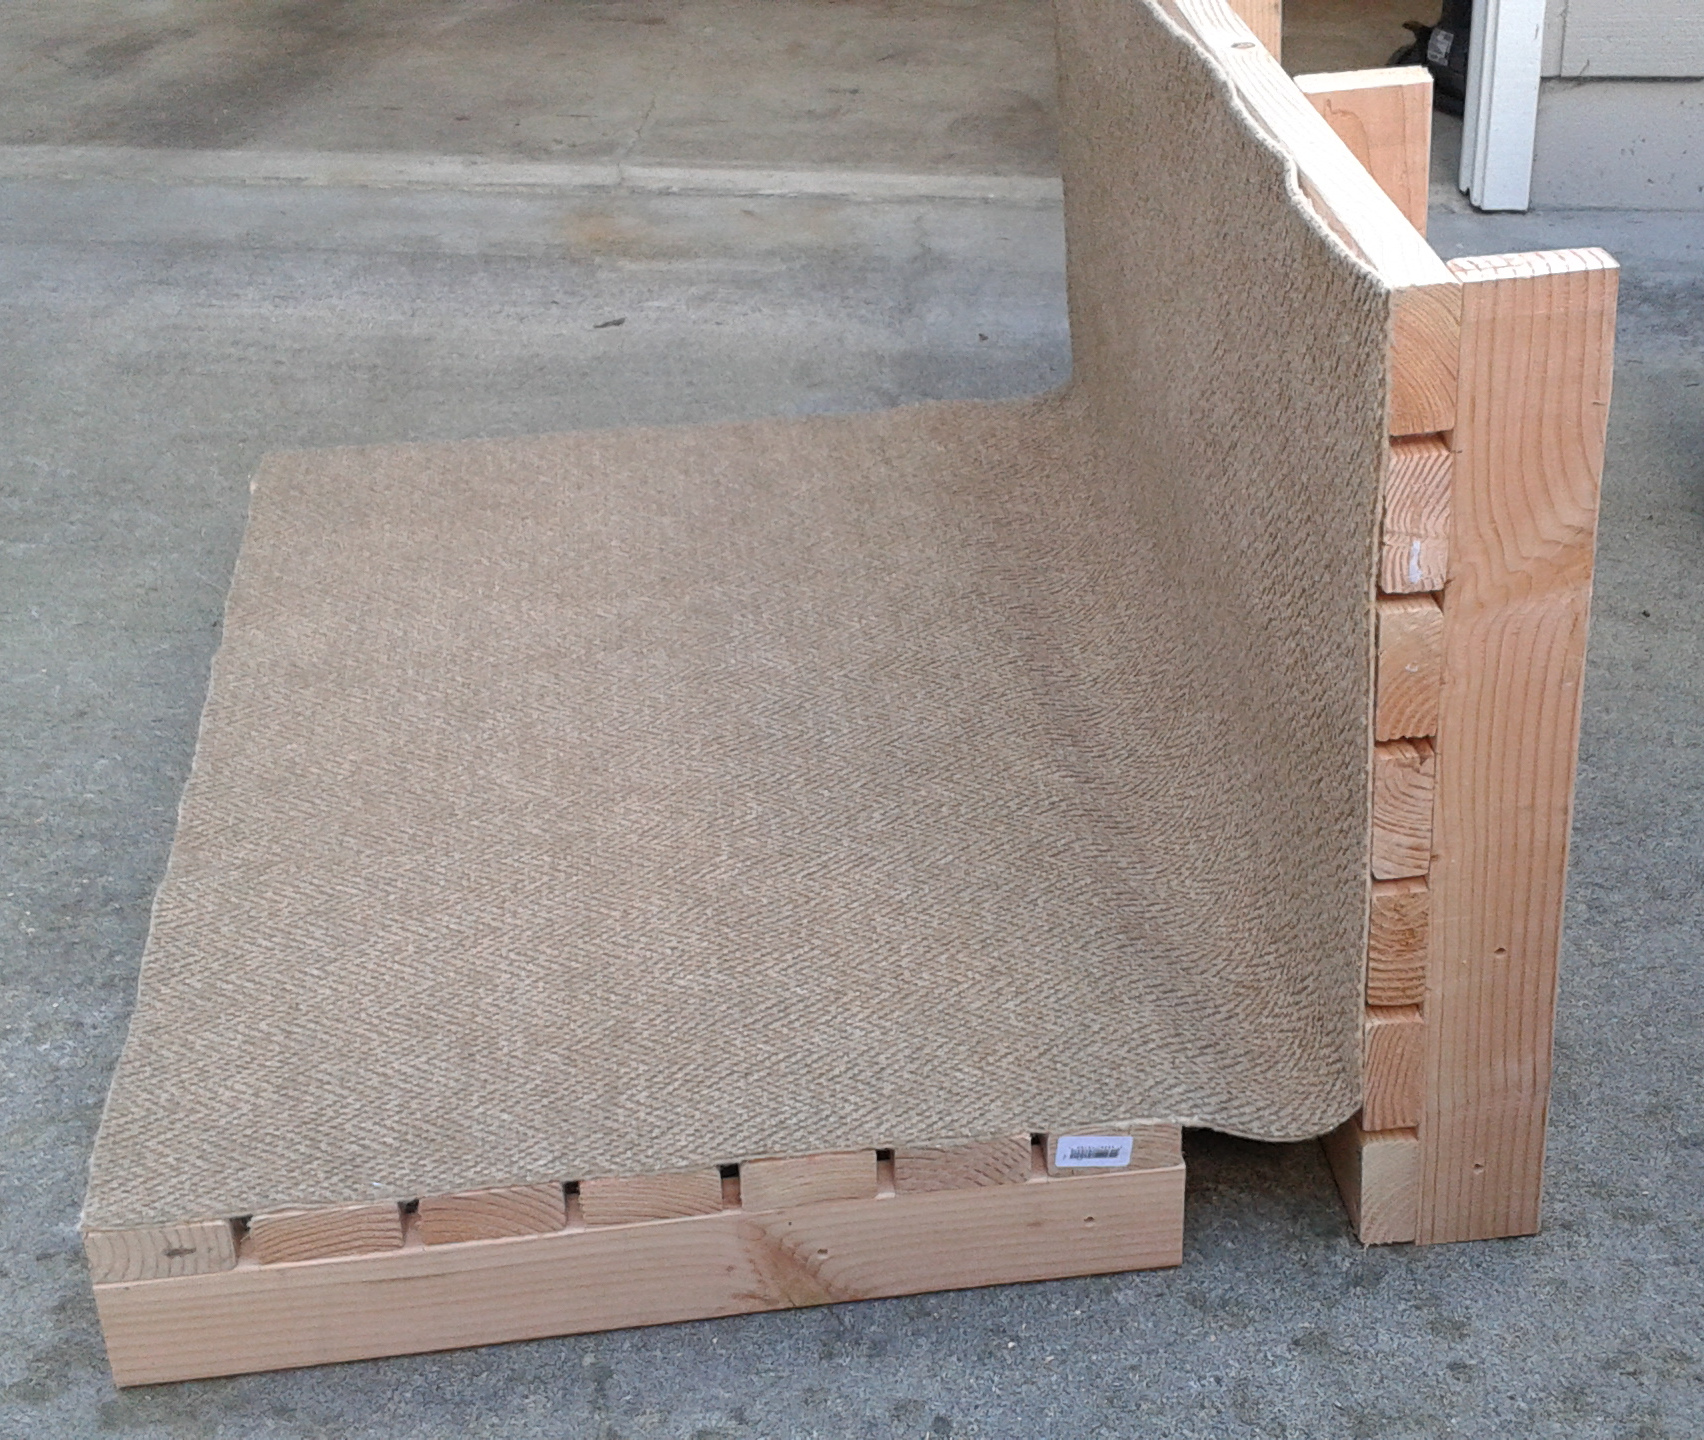
from here on, i just follow Jackson's original plans. when constructing the platform, keep the bolts in place and secure the 2x4s atop each truss as normal (make sure to secure the slats onto the trusses, and not the braces -- otherwise you won't be able to detach the braces!)
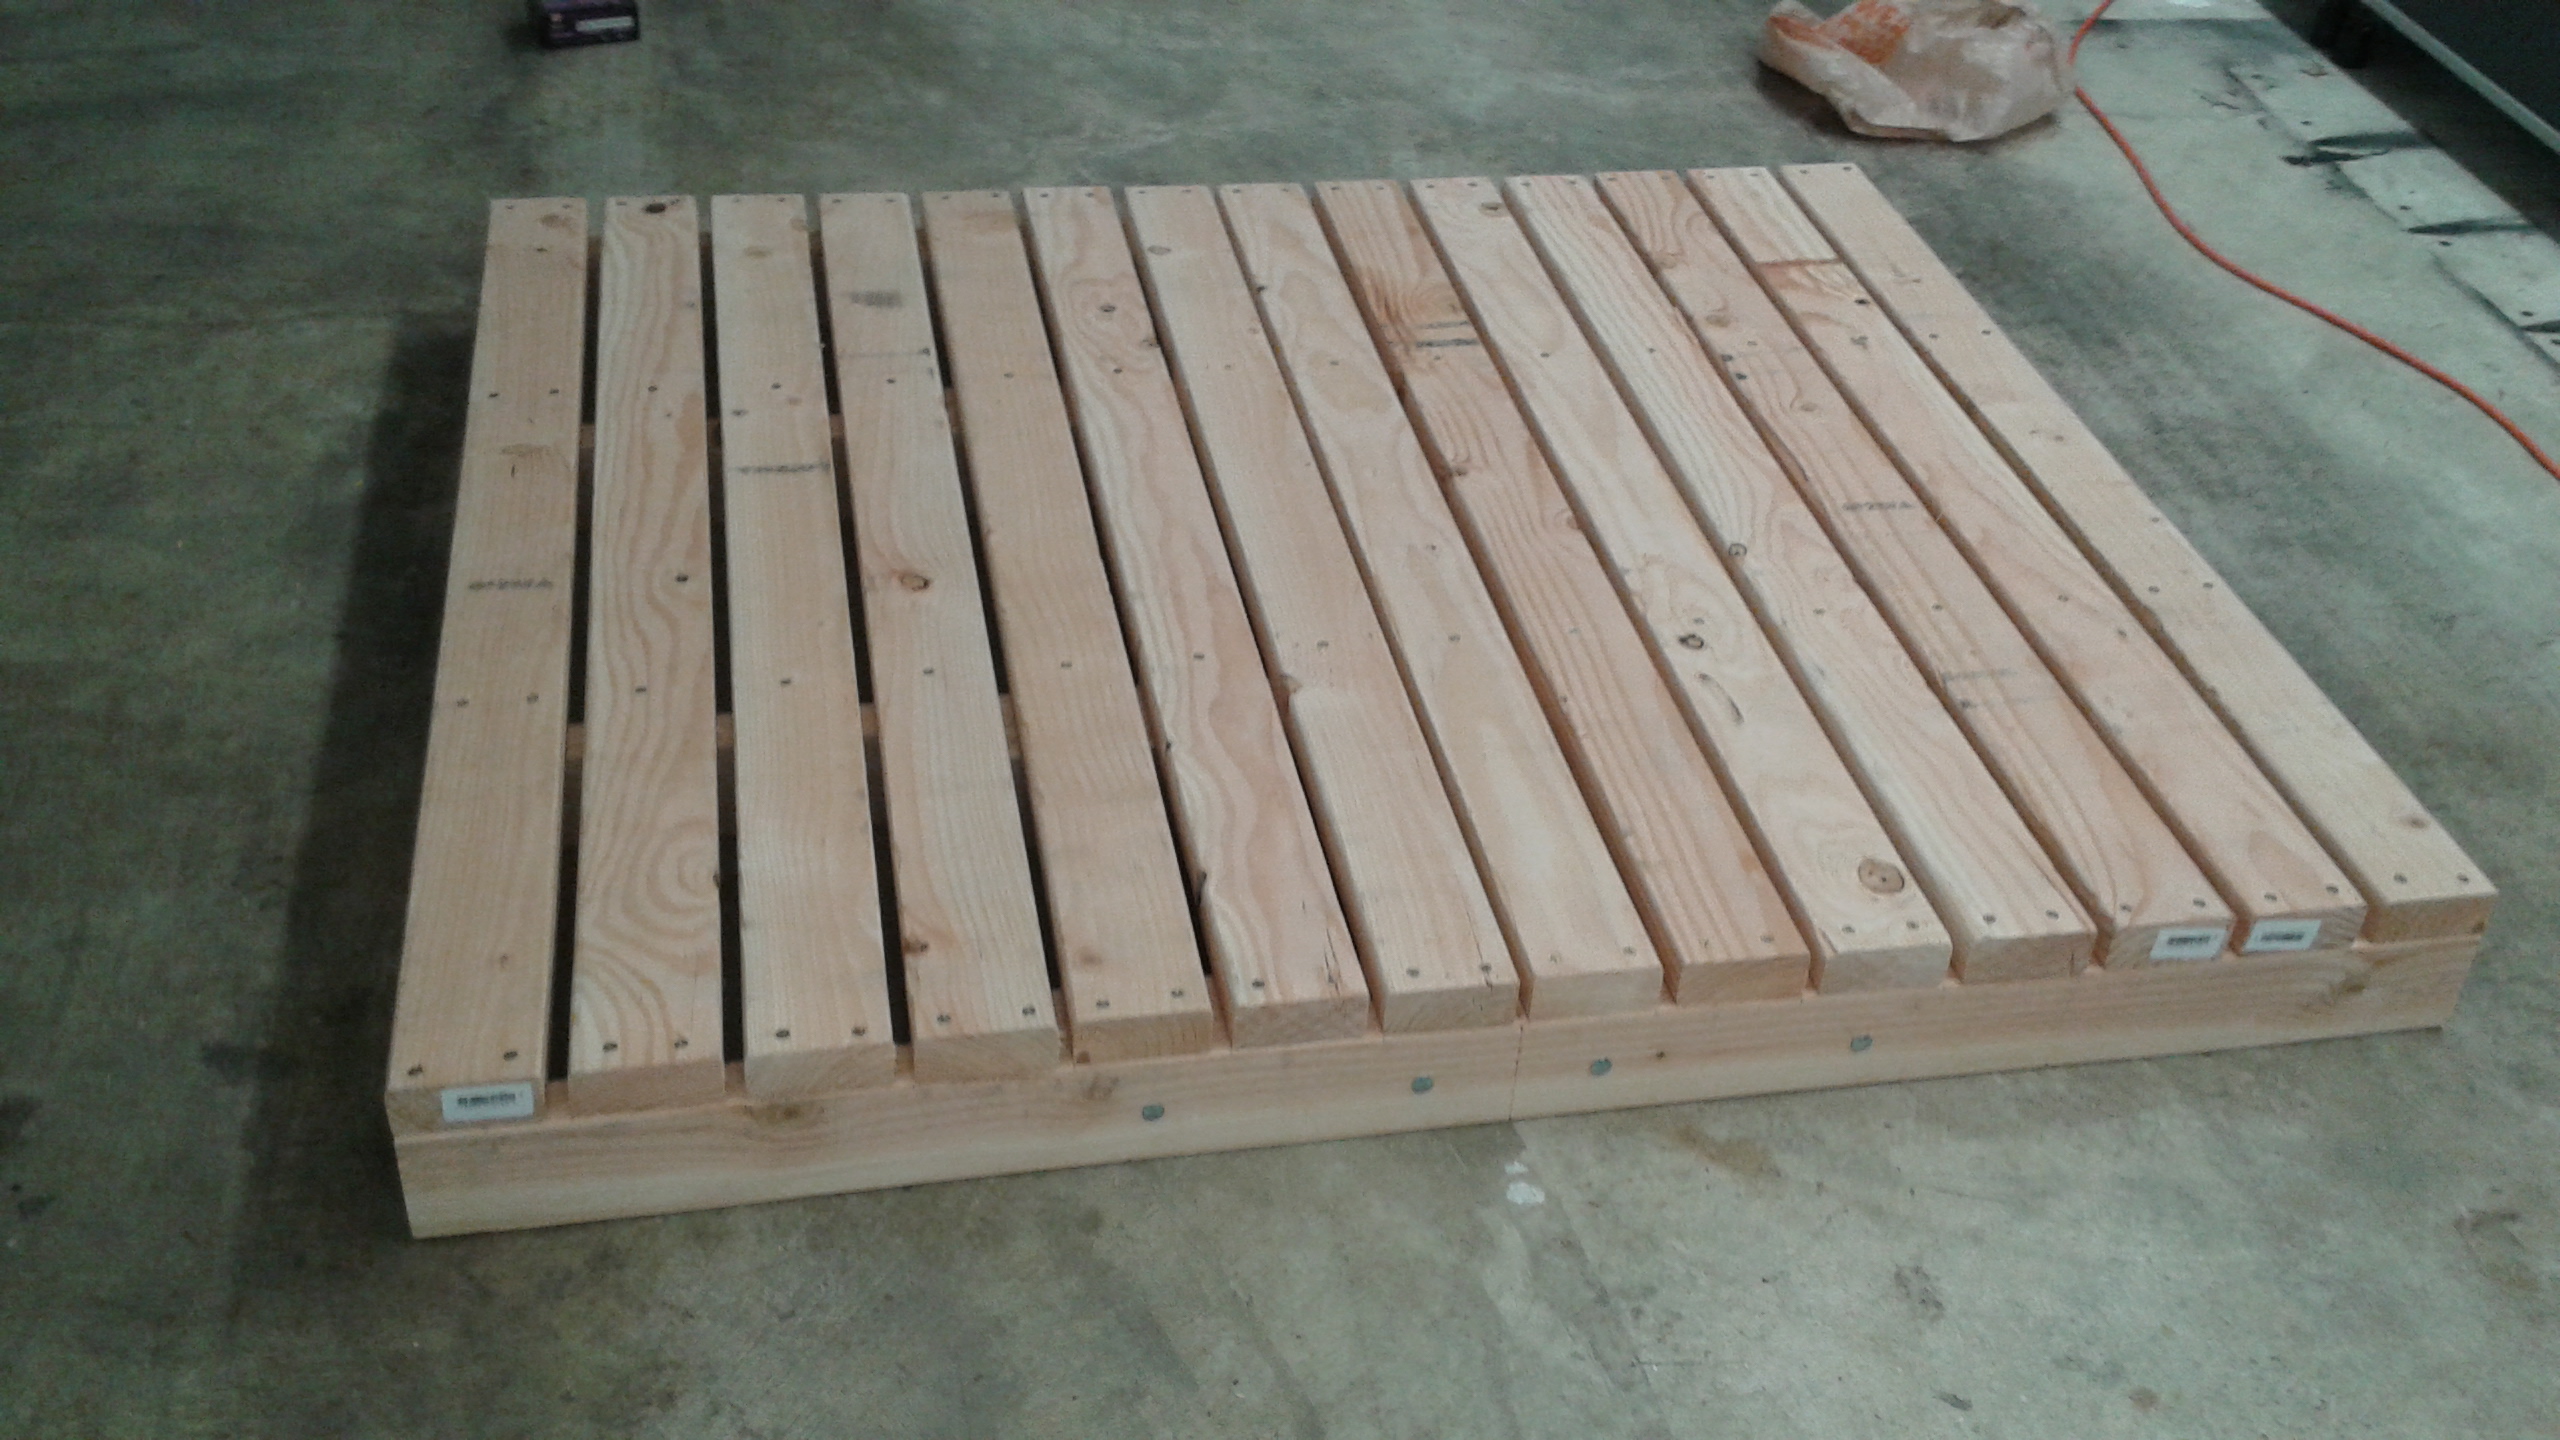
here's what it looks like from the underside:
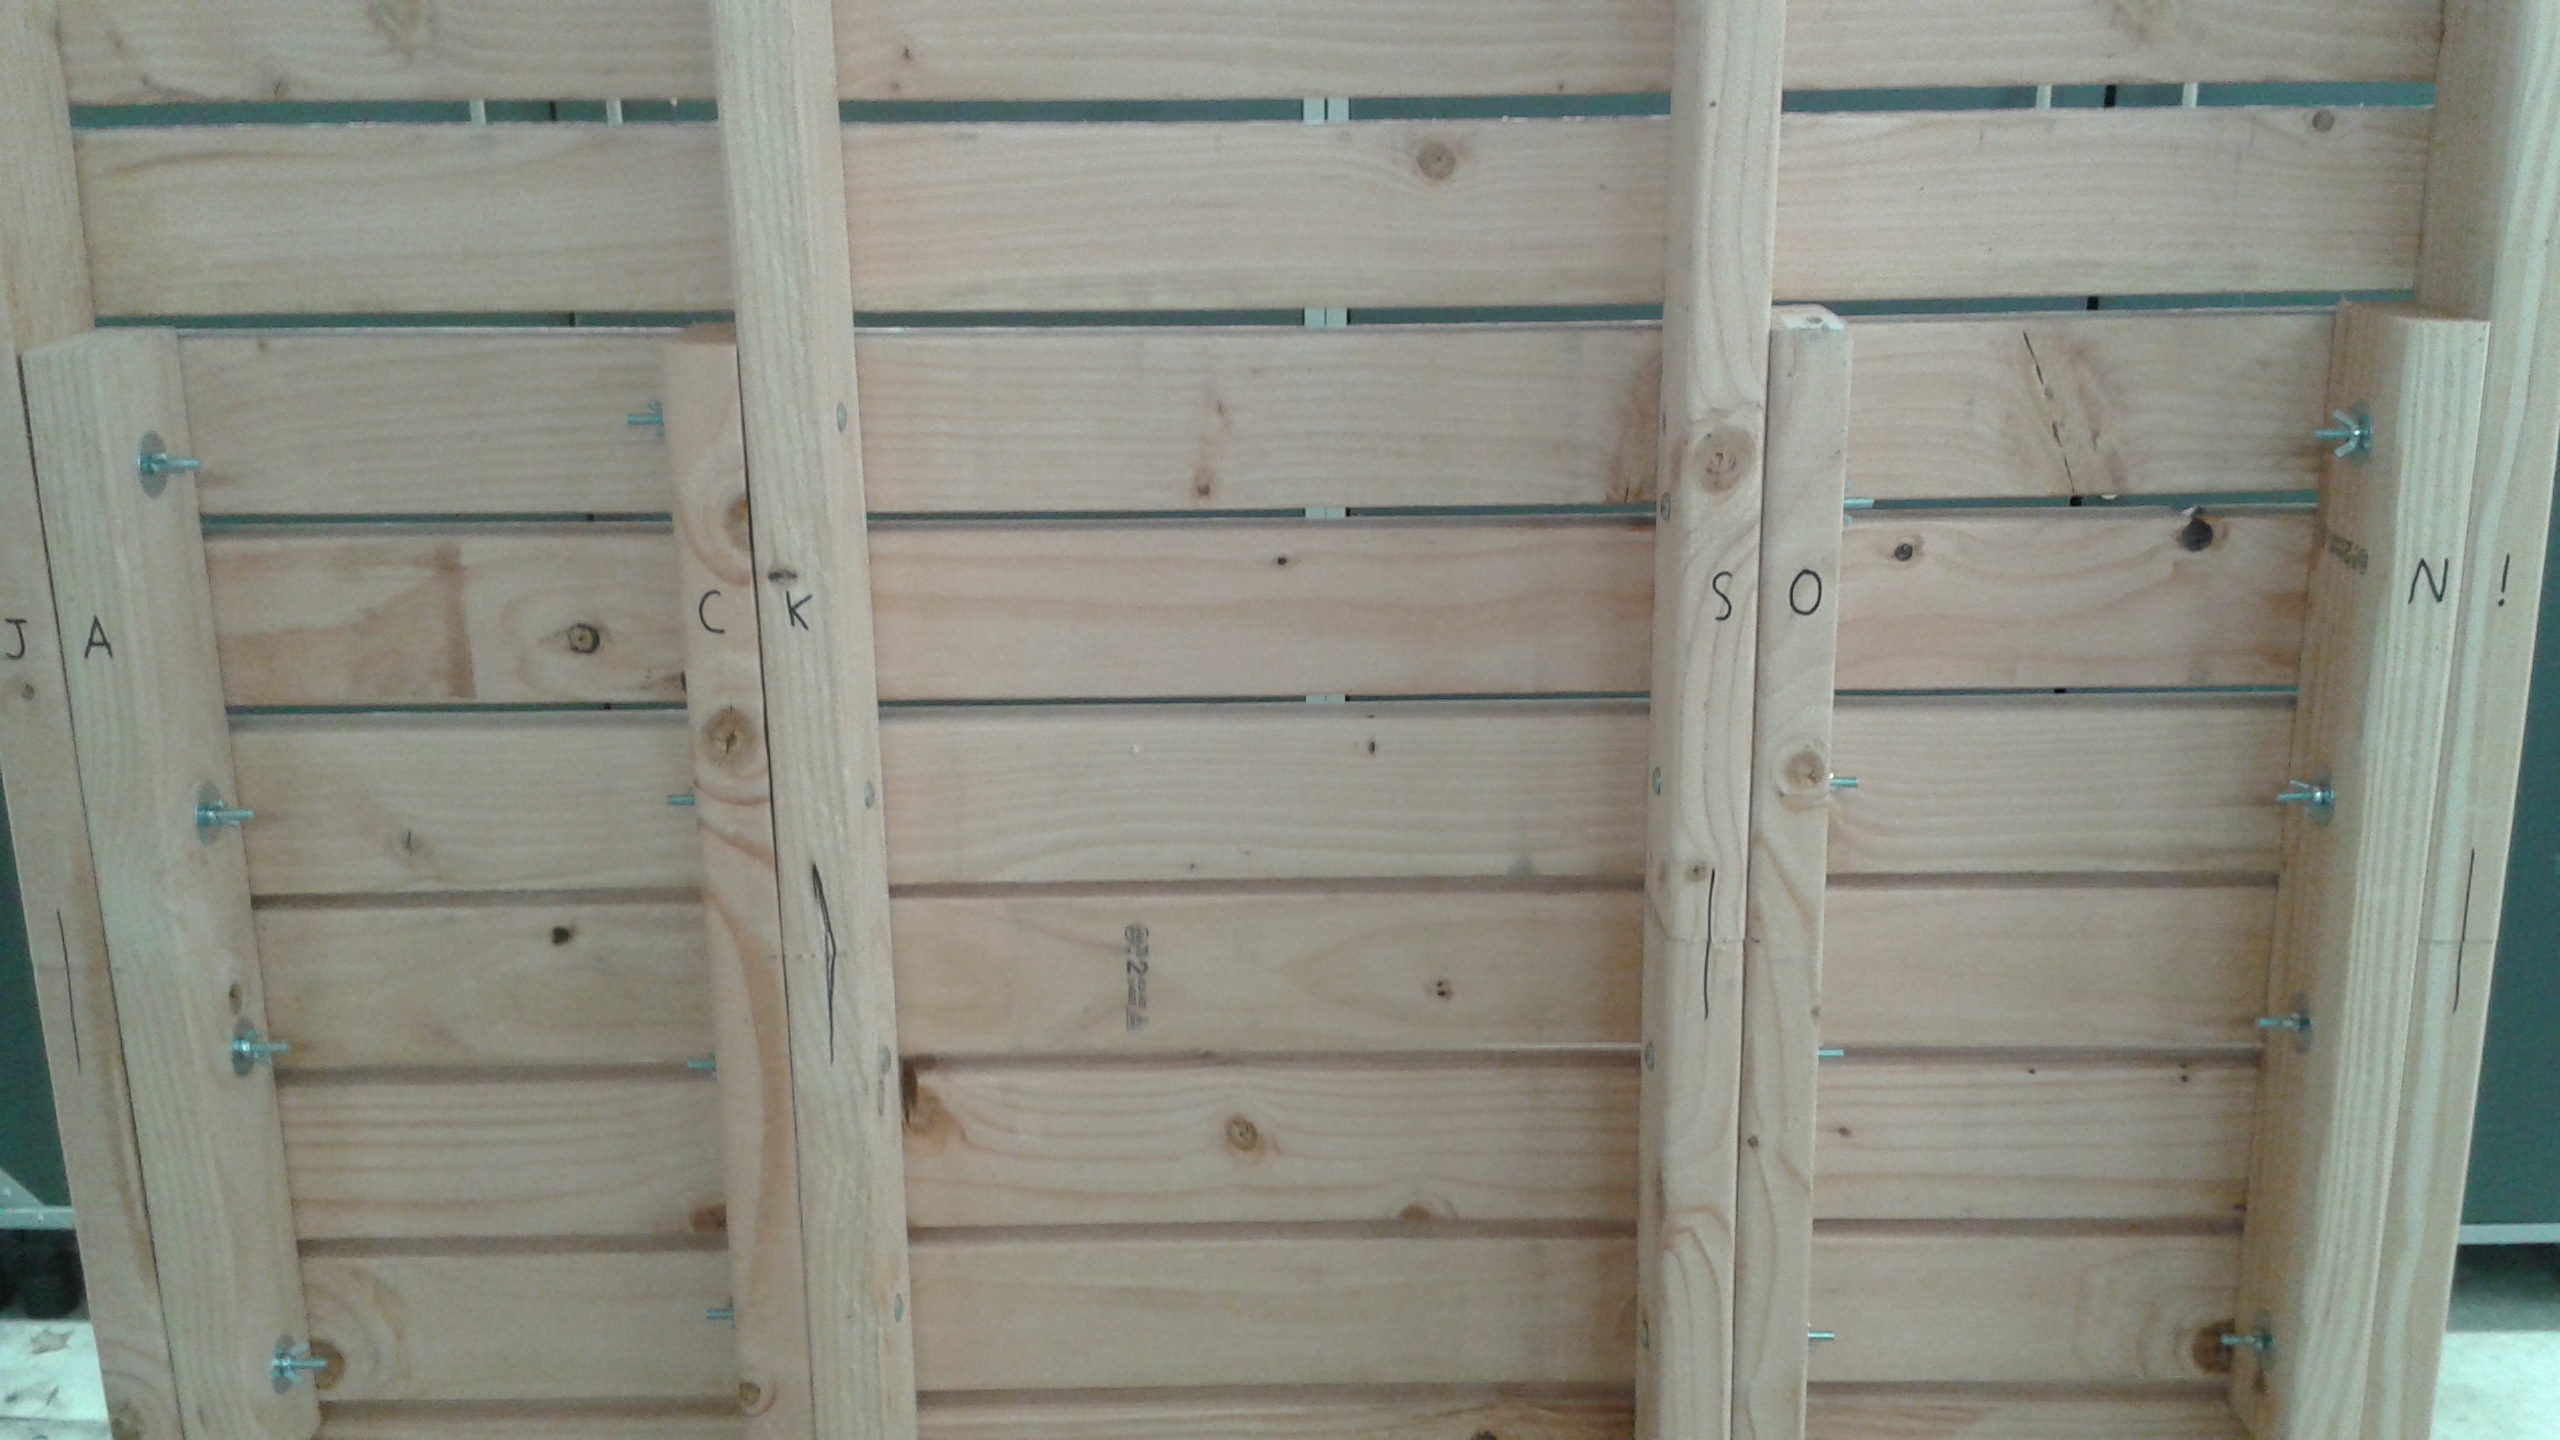
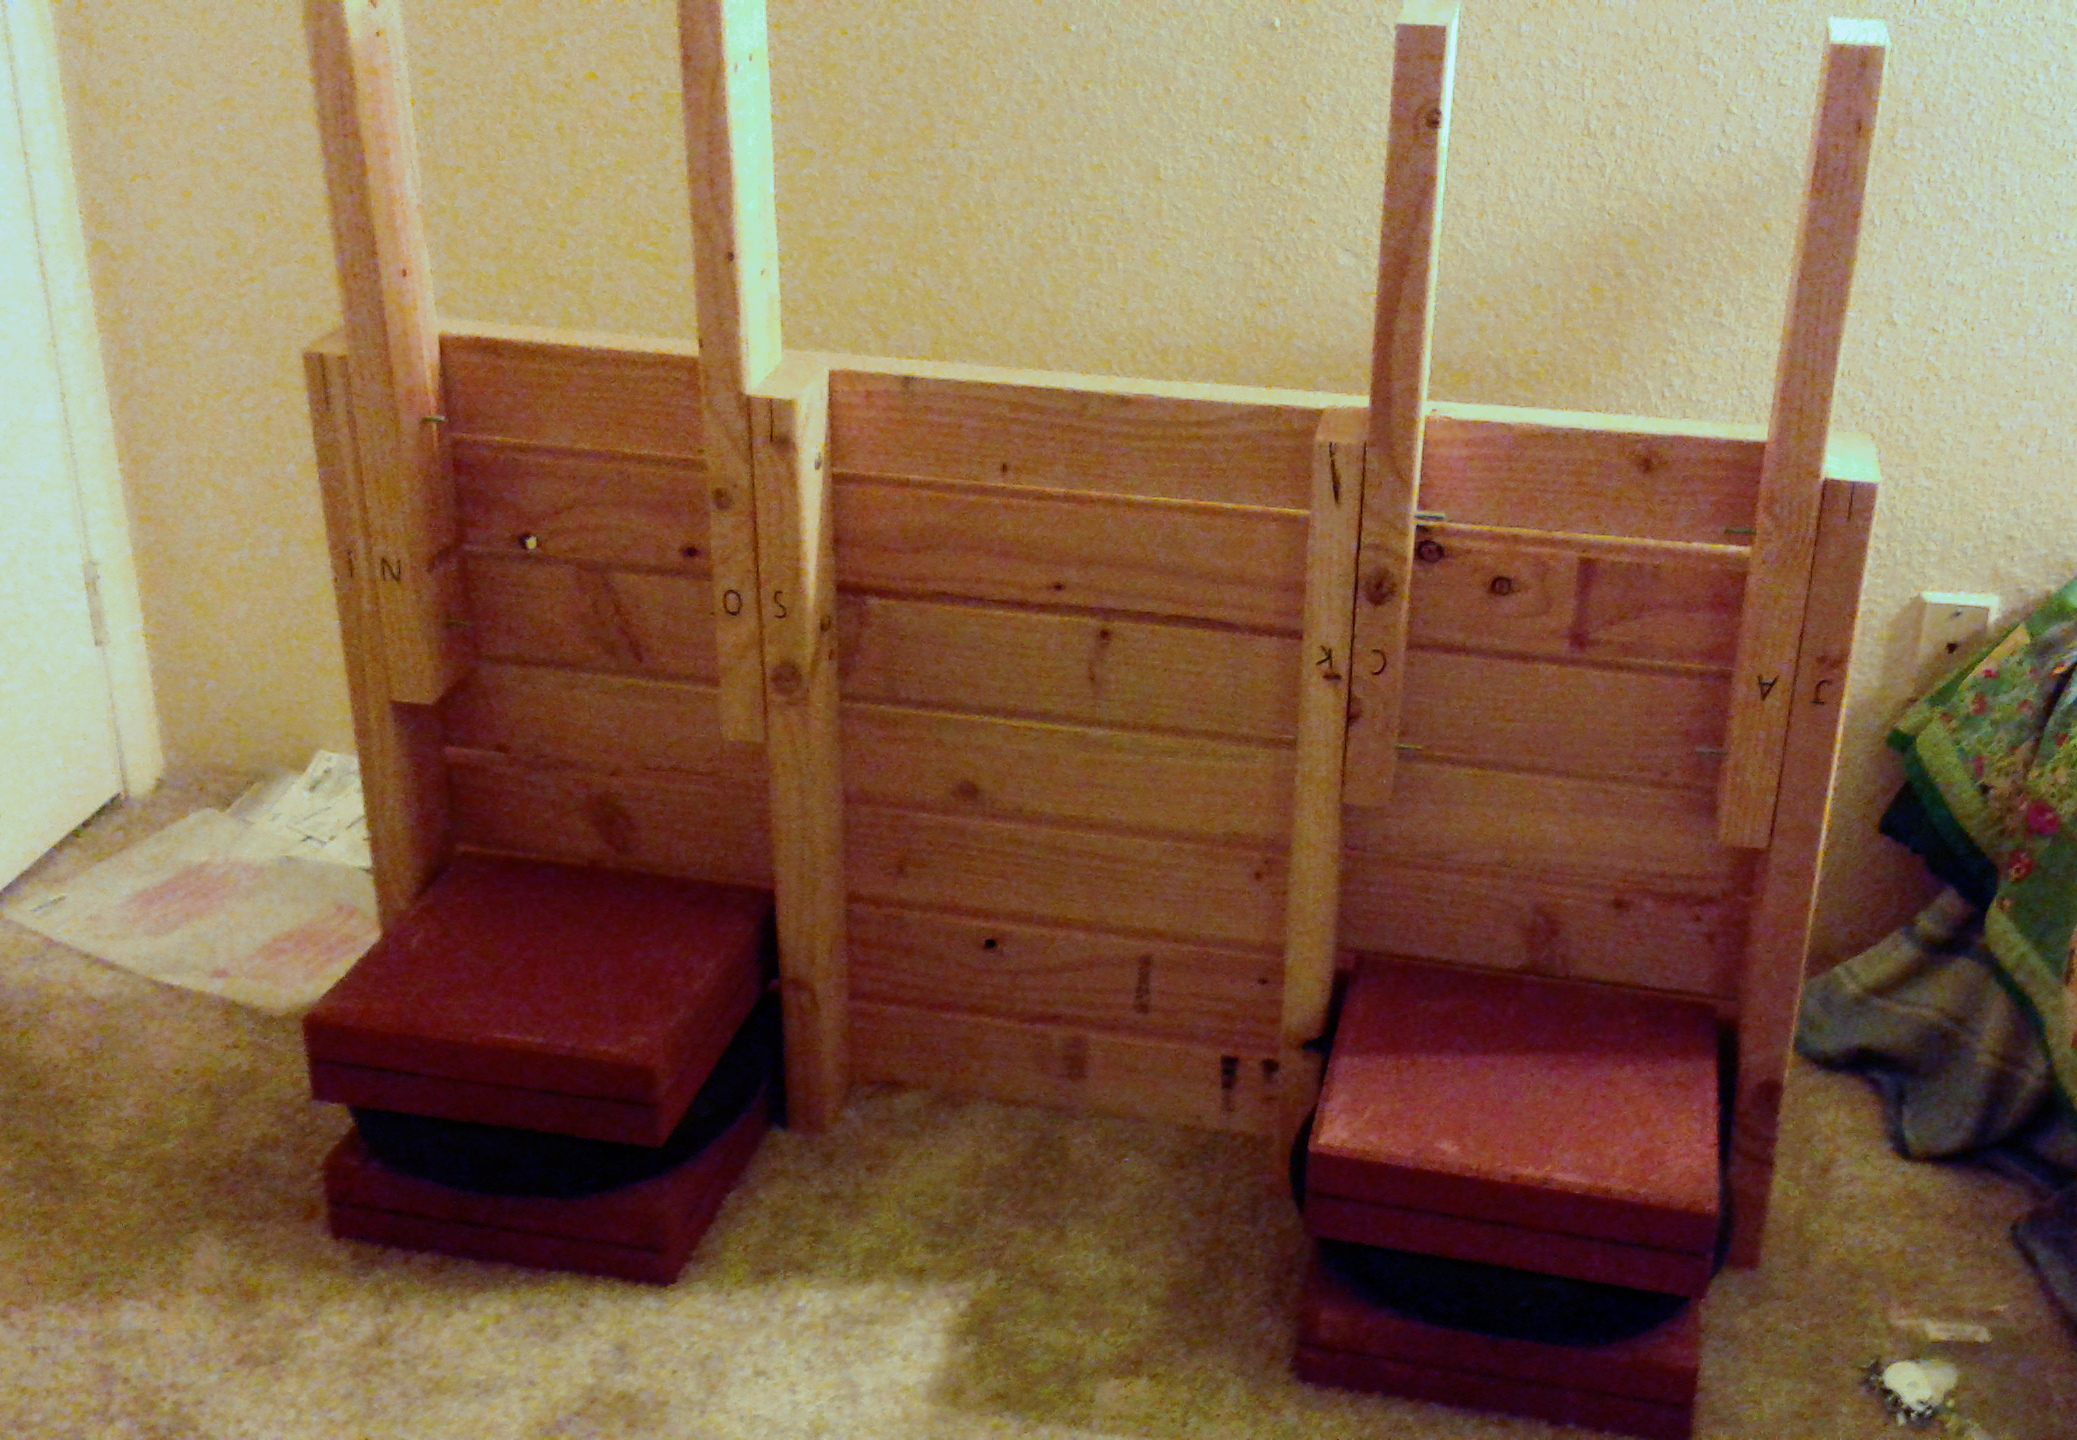
you'll want to label the braces now so that you know which brace belongs to which truss when you reassemble it later (even though they should have the same cuts, in practice you won't have lined up the holes identically in each one). i just marked them such that they spell a word when correctly paired:
if you want carpeting, do that while the platform is assembled. you can cut one piece of carpet to the full 48"x55.5", staple it, and let it fold inward during disassembly. it'll take two people to carry it this way, but it probably looks nicer than if you carpeted each half separately.
Disassembly & Reassembly
when you're ready, just unbolt the braces, slide them off, and fold the platform:
to setup the pad somewhere more permanent, first situate the isolation pedestals, then reattach the braces and lower the pad onto the pedestals.


and you're good to go :)
this pad has served me for four years and at three different homes with zero noise complaints. i refill the tubes yearly, and very imprecisely. you really just need to fill them to capacity and the 200-300 pounds sitting atop them should pressurize it all decently.